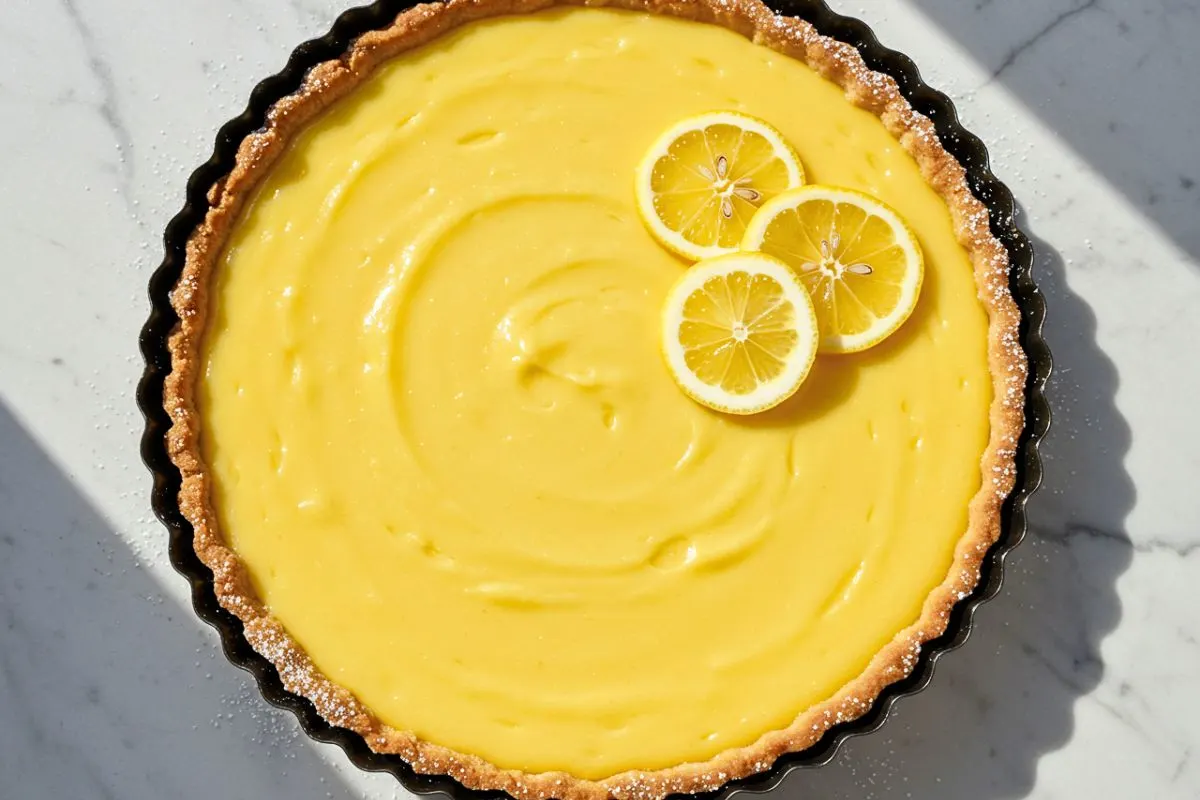
Easy Lemon Tart
There’s something truly magical about the way a lemon tart recipe can brighten up even the gloomiest day, don’t you think? I still remember the first time I tackled an easy lemon tart in my tiny apartment kitchen back in culinary school—lemons everywhere, zest flying, and a filling that curdled because I rushed the heat. Let’s just say it was a zesty disaster! But after years of tweaking and testing in my bakery, Sophie’s Sweet Haven, I’ve honed this classic lemon dessert into something simple, elegant, and utterly foolproof. It’s that perfect balance of buttery crust and tangy, silky filling that makes it a go-to for spring brunches or summer picnics. If you’ve ever wondered how to make a homemade lemon tart that rivals those fancy patisserie ones without the fuss, you’re in the right place. As someone who’s baked thousands of these over my 20-plus years in the kitchen, I promise this one’s all about joy and a little patience.
Jump to
Recipe Information Table
| Aspect | Details |
|---|---|
| Prep Time | 20 minutes |
| Cook Time | 40 minutes |
| Total Time | 3 hours (including chilling) |
| Servings | 8 |
| Estimated Calories | 350 per serving |

Essential Ingredients for Perfect Lemon Tart
Now, let’s chat about the ingredients because, trust me on this one, the right ones make all the difference in a simple lemon tart. I’ve learned the hard way—Nonna Rosa always said that baking is like nurturing a family recipe, and skimping on quality just doesn’t cut it. For the crust, you’ll need 1 1/2 cups all-purpose flour (or a gluten-free blend if that’s your thing—I’ve adapted this plenty for customers with sensitivities). Then, 1/2 cup unsalted butter, cold and cubed. I can’t tell you how many times I’ve pulled a tart from the oven only to realize my butter was too warm, leading to a soggy base. Cold butter creates those flaky layers we all crave, releasing steam that lifts the dough just right.
Don’t forget 1/4 cup granulated sugar for a subtle sweetness that complements the tartness without overpowering it, a pinch of salt to enhance the flavors (I once forgot it in a batch for a wedding—yikes, flat as a pancake!), and 1 large egg yolk for binding everything together. The egg adds richness and helps the crust hold its shape during blind baking. If you’re new to this, here’s where most people go wrong: overworking the dough. Keep it crumbly; it’ll come together with gentle handling.
Shifting to the star of the show—the lemon filling. This is where your lemon tart gets its signature zing. You’ll want 4 large eggs plus 2 yolks (the extra yolks make it extra creamy, like a luxurious lemon curd tart). About 3/4 cup fresh lemon juice—squeeze it yourself for that vibrant, sunny taste; bottled just doesn’t compare, in my experience. Zest from 2 lemons adds an aromatic punch; I love running my microplane over them while chatting with my kids, Emma and Lucas, who think it’s playtime. Then, 1 cup granulated sugar to balance the acidity—I’ve tested this down to the gram after too many overly puckery attempts. A 1/2 cup unsalted butter, softened, brings silkiness, and a touch of heavy cream (about 2 tablespoons) for that velvety mouthfeel.
After years of testing, I’ve found that using room-temperature eggs prevents lumps in the curd, and straining the mixture through a fine sieve removes any bits for a smooth finish. If lemons are scarce, Meyer lemons work beautifully for a milder twist, especially in spring when they’re at farmers’ markets here in Portland. Oh, and for substitutions: if you’re dairy-free, swap the butter for a plant-based alternative like coconut oil, though it might alter the classic buttery aroma slightly. The secret ingredient? Patience. These simple elements come together to create a dessert that’s not just tasty but memorable—like the ones Nonna Rosa passed down, evoking lazy afternoons in her sunlit kitchen.
This lineup keeps things straightforward, but quality matters. I’ve sourced my lemons from local stands, and the difference in brightness is night and day. Whether you’re whipping this up for a dinner party or a quiet family treat, these ingredients ensure your homemade lemon tart shines with that fresh, citrusy glow.
Step-by-Step Easy Lemon Tart Recipe
Preheat oven: Set oven to 375°F (190°C).
Make the crust:
- Mix 1 ½ cups flour, ¼ cup sugar, and a pinch of salt.
- Add ½ cup cold butter cubes; pulse until it looks like coarse crumbs.
- Add 1 egg yolk and 1–2 tbsp ice water, pulsing just until clumps form.
Chill dough: Form into a disc, wrap, and chill for 30 minutes.
Roll & line pan: Roll to 12-inch round, ⅛-inch thick. Fit into 9-inch tart pan, trim edges, prick bottom.
Blind bake crust: Line with parchment, add weights/beans, bake 15–18 min. Remove weights, bake 5–7 min more. Cool completely.
Prepare filling:
- Whisk 4 whole eggs + 2 yolks until pale.
- Add 1 cup sugar, lemon zest, and juice.
- Stir in ½ cup softened butter + 2 tbsp cream.
- Strain mixture for smoothness.
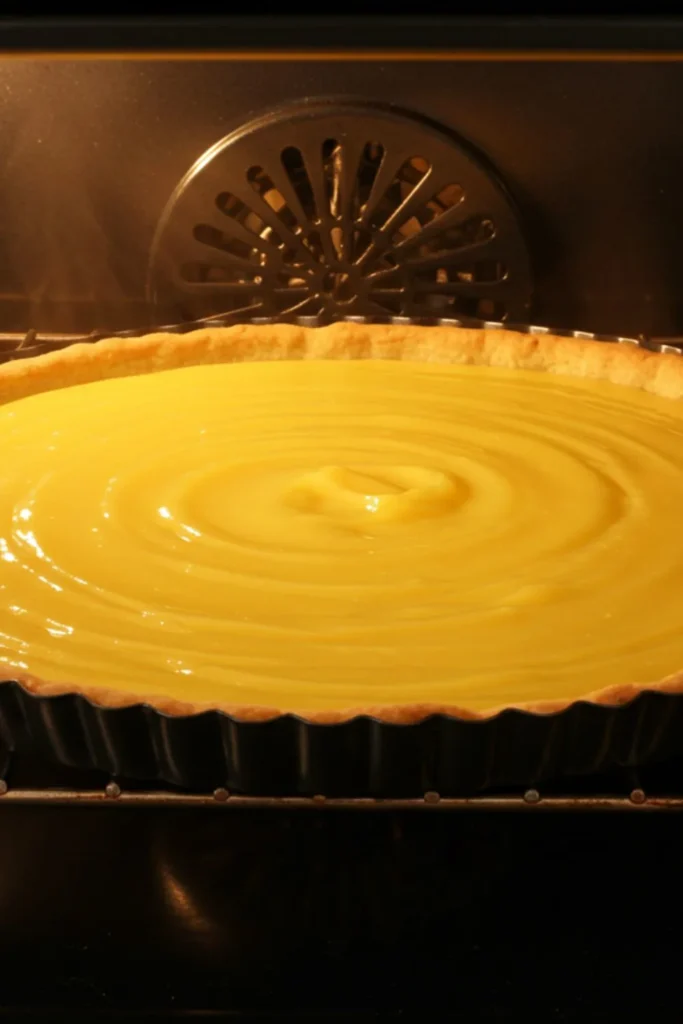
Bake tart with filling: Reduce oven to 325°F (160°C). Pour filling into cooled crust, bake 20–25 min until edges are set and center jiggles slightly.
Cool & chill: Cool on a rack 30 min, then refrigerate at least 2 hours.
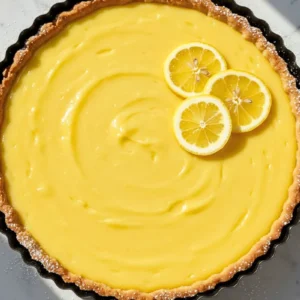
Finish & serve: Unmold tart, dust with powdered sugar or top with whipped cream and berries. Slice into 8 portions and enjoy.
This step-by-step keeps it approachable, but remember: ovens vary, so check a minute early. I’ve burned my share, but that’s how we learn!

Pro Tips for Lemon Tart Success
So, here’s the thing about a great lemon curd tart: it’s forgiving if you know a few tricks I’ve picked up over 12 years in professional baking. First, always chill your dough—it’s non-negotiable for a crisp crust. I can’t tell you how many times I’ve skipped this in a rush, only to fight shrinkage later. Pro tip: If your kitchen’s warm (like Portland summers), pop the pan in the freezer for 10 extra minutes before baking.
For the filling, whisk vigorously to avoid egg strands; a balloon whisk works wonders. And temperature matters—room-temp ingredients blend seamlessly. If your curd separates (it happens!), gently reheat over a double boiler while whisking; I’ve salvaged many a batch this way. Don’t skip straining; it ensures that smooth, professional finish my customers rave about.
Baking blind? Use foil instead of parchment if beans escape—learned that after a cleanup nightmare. Finally, chill thoroughly; a rushed tart is runny. Trust me, after testing dozens, these tweaks turn good into unforgettable. The secret ingredient? Patience, as Nonna Rosa always said.
Variations and Customizations for Lemon Tart
Feeling adventurous with your homemade lemon tart? I’ve adapted this for seasons—add a handful of fresh blueberries to the filling for a summer twist, or swirl in raspberry puree for a vibrant pop. For gluten-free, use a 1:1 flour blend; it holds up beautifully. Dairy-free? Coconut cream instead of heavy cream adds a tropical note. Spice it with a pinch of ginger in the crust for fall vibes. My favorite: Top with meringue for a lemon meringue hybrid—torch it lightly for that caramelized crunch. Make it your own; baking’s about creativity!
Storing and Serving Your Lemon Tart
Once your lemon tart is chilled and set, store it covered in the fridge for up to 3 days— the flavors even deepen! For longer, wrap slices tightly and freeze for a month; thaw overnight. Serve at room temp for best texture; cold makes the curd firm but dulls the zing. Slice with a hot knife for clean cuts, and pair with tea or David’s fresh-roasted coffee. For gatherings, garnish with mint or edible flowers—it’s a showstopper that wows without effort.
Easy Lemon Tart
Ingredients
Crust:
- 1 1/4 cups all-purpose flour
- 1/2 cup unsalted butter cold, cubed
- 1/4 cup powdered sugar
- 1 egg yolk
- 1-2 tbsp cold water
- 1/4 tsp salt
Filling:
- 4 large eggs
- 1 cup granulated sugar
- 2/3 cup fresh lemon juice
- zest of 2 lemons
- 1/4 cup heavy cream
- 1/4 cup
Instructions
- Make crust: Pulse dry ingredients with butter, add egg yolk and water, chill 30 min.
- Roll out, fit into 9-inch tart pan, blind bake at 375°F for 20-22 min.
- Whisk eggs and sugar, add lemon juice, zest, cream, and butter.
- Pour into crust, bake at 350°F for 20-25 min until set.
- Cool and chill 2 hours.
Equipment
- Food processor or bowl
- rolling pin
- 9-inch tart pan with removable bottom
- pie weights or dried beans
- whisk or mixer
- fine grater
- juicer
- wire rack
FAQ
How do I make a lemon tart recipe without a food processor? No worries! Use a pastry cutter or two forks to blend the butter into the flour until crumbly. It takes a bit longer, but I’ve done it countless times at Nonna’s without gadgets—works like a charm for that classic lemon dessert.
What’s the best way to get fresh lemons for a simple lemon tart? Opt for juicy, thin-skinned ones from a farmers’ market if possible. Zest first, then juice; you’ll need about 3/4 cup. In spring, Meyer lemons add a sweeter note—I’ve found they make the filling less puckery for beginners.
Can I bake a homemade lemon tart ahead for a party? Absolutely! Make it a day early; chilling overnight intensifies the flavors. Just dust with sugar right before serving to keep it pretty. I prepped one for Emma’s birthday, and it was a hit.
Why did my lemon curd tart filling crack? Usually, overbaking—pull it when the center still jiggles. High oven heat can do it too; I’ve had my share of cracked tops from rushing. Cool slowly to prevent it.
Is there a dairy-free version of easy lemon tart? Yes! Swap butter for vegan butter and use coconut cream in the filling. It adds a subtle richness; test for sweetness as it varies. Great for my dairy-sensitive customers.
How long does a lemon tart recipe last in the fridge? Up to 3-4 days covered. The crust softens after that, but the curd stays tangy. Freeze slices for up to a month if needed—perfect for portioning that lemon curd tart indulgence.
Conclusion
Whew, there you have it—your ticket to a stunning lemon tart that captures all the sunny essence of spring in every bite. From my early mishaps to the perfected batches now filling Sophie’s Sweet Haven with rave reviews, this recipe has been a journey of flavors and family. I love how it brings people together, whether it’s David sneaking a slice with his coffee or the kids devouring the edges. So grab those lemons, channel a bit of Nonna’s spirit, and bake away. You’ve got this; the result will be worth every whisk. What’s your favorite way to enjoy a classic lemon dessert? Drop me a line—I’d love to hear your twists!