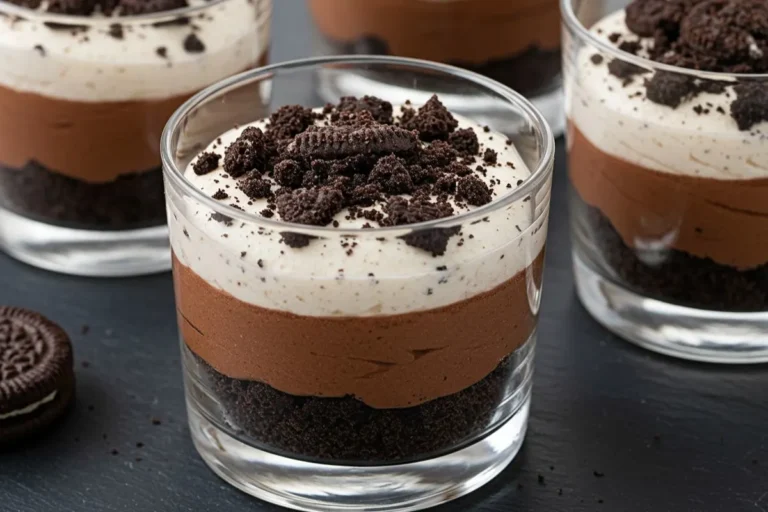
Special Oreo Tiramisu
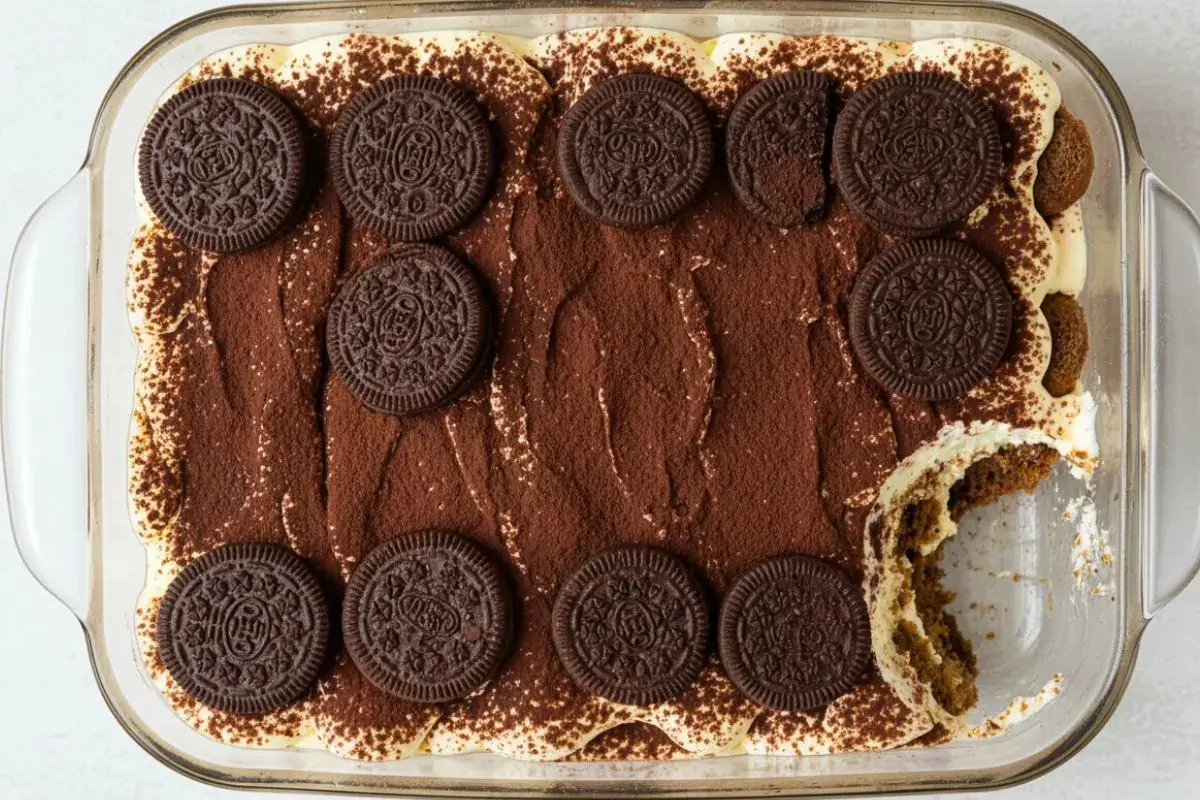
There’s something utterly magical about the way a good tiramisu comes together – that moment when creamy mascarpone meets coffee-soaked layers and transforms into pure indulgence. Now, imagine that classic dessert getting a playful twist with Oreo cookies! I’ll never forget the first time I tried making Oreo Tiramisu. It was a rainy Sunday afternoon, and my daughter Emma, then barely four, was insistent on “helping” in the kitchen.
Let’s just say we ended up with more cookie crumbs on the floor than in the dessert! But that messy, giggly day led to this recipe, which has become a family favorite and a hit at every gathering. After twelve years as a professional baker and countless experiments in my Portland kitchen, I’ve perfected this Oreo Tiramisu recipe, and I’m thrilled to share it with you. Trust me on this one – it’s a crowd-pleaser that marries nostalgic Oreo love with the elegance of tiramisu.
Table of Contents
Why Oreo Tiramisu is Special
Oreo Tiramisu is like a love letter to both childhood and sophistication. The classic tiramisu, with its espresso-soaked ladyfingers and velvety mascarpone cream, has always felt like a grown-up treat to me – something Nonna Rosa would serve with tiny cups of espresso after a big family dinner. But swapping in Oreos? That’s where the magic happens. Those iconic chocolate sandwich cookies bring a familiar crunch and that unmistakable creamy filling, which softens beautifully when soaked in coffee. The result is a dessert that feels indulgent yet playful, like dunking Oreos in milk but dressed up for a dinner party.
What makes this Oreo Tiramisu stand out is its balance. The bittersweet coffee cuts through the sweetness of the cookies, while the mascarpone cream adds a luxurious, almost cloud-like texture. I’ve served this at everything from casual summer barbecues to winter holiday parties, and it never fails to spark conversation. People love the surprise of finding Oreos in a dessert they expect to be traditional. Plus, it’s a make-ahead dream – the flavors get even better after a night in the fridge, making it perfect for entertaining.
Essential Ingredients for Perfect Oreo Tiramisu
Let’s talk ingredients – the heart of any great dessert. I’ve learned over the years that quality matters, especially in a recipe like Oreo Tiramisu, where each component shines. Here’s what you’ll need and why it’s important, plus a few substitutions I’ve tested in case you’re in a pinch.
- Oreo Cookies (36-40 cookies): The star of the show! I use classic Oreos because their chocolate wafer and creamy filling create the perfect flavor and texture. Double Stuf works if you want extra creaminess, but avoid flavored varieties like mint or peanut butter – they overpower the coffee. In a pinch, any chocolate sandwich cookie will do, but Oreo’s iconic taste is hard to beat.
- Espresso or Strong Coffee (1 ½ cups): The coffee is what gives tiramisu its signature depth. I brew strong espresso (my husband David’s coffee roaster skills come in handy here!), but a good dark roast coffee works too. Decaf is fine if you’re avoiding caffeine. For kids or caffeine-sensitive folks, I’ve used decaf or even hot chocolate for a milder version – Emma loves that one!
- Mascarpone Cheese (16 oz): This Italian cream cheese is the soul of tiramisu’s creamy layers. It’s rich and slightly tangy, which balances the sweetness. Make sure it’s at room temperature for smooth mixing. I’ve tried cream cheese as a substitute, but it’s tangier and denser – stick with mascarpone if you can.
- Heavy Whipping Cream (1 ½ cups): Whipped cream lightens the mascarpone, giving that dreamy texture. Use cold cream for the best whip. In a pinch, I’ve used store-bought whipped topping, but fresh is always better.
- Granulated Sugar (½ cup): Sweetens the cream mixture just enough. I’ve experimented with reducing it, but the coffee’s bitterness needs this balance. Powdered sugar works too but dissolves faster, so adjust slowly.
- Vanilla Extract (1 tsp): A splash of vanilla rounds out the flavors. Use pure vanilla for the best taste – Nonna Rosa would approve!
- Cocoa Powder (2-3 tbsp): For dusting the top, giving that classic tiramisu look and a hint of chocolatey bitterness. Use unsweetened cocoa for contrast.
- Optional: Coffee Liqueur (2 tbsp): For an adult version, a splash of Kahlúa or Baileys adds depth. I skip this for family gatherings but love it for date nights.
Pro tip: Set up your mise en place (that’s fancy for “get everything ready”) before you start. I learned this the hard way during my Great Soufflé Disaster of 2019 – trust me, it saves stress!
Step-by-Step Oreo Tiramisu Recipe
Now, let’s get to the fun part – making your Oreo Tiramisu! This recipe serves 8-10 and takes about 30 minutes to assemble, plus chilling time. I’ll walk you through each step as if I’m right there in your kitchen, sipping coffee and cheering you on. Here’s how I do it, based on years of tweaking and taste-testing.
- Prep the Coffee Mixture: Pour the cooled espresso or coffee into a shallow dish. If using coffee liqueur, stir it in now. I like to taste it to make sure it’s bold enough – it should have that rich, slightly bitter kick. Set aside.
- Whip the Cream: In a large bowl, beat the cold heavy cream with an electric mixer on medium-high until soft peaks form (about 2-3 minutes). Add the sugar and vanilla, then beat until stiff peaks form (another 1-2 minutes). Don’t overwhip – it should be fluffy, not grainy. I’ve overdone it before, and it’s not pretty!
- Mix the Mascarpone: In another bowl, whisk the room-temperature mascarpone until smooth. This takes about 30 seconds – don’t overmix, or it can curdle. Gently fold in a third of the whipped cream to lighten it, then fold in the rest until combined. The mixture should be silky and spreadable. If it looks lumpy, don’t panic – just fold gently until it smooths out.
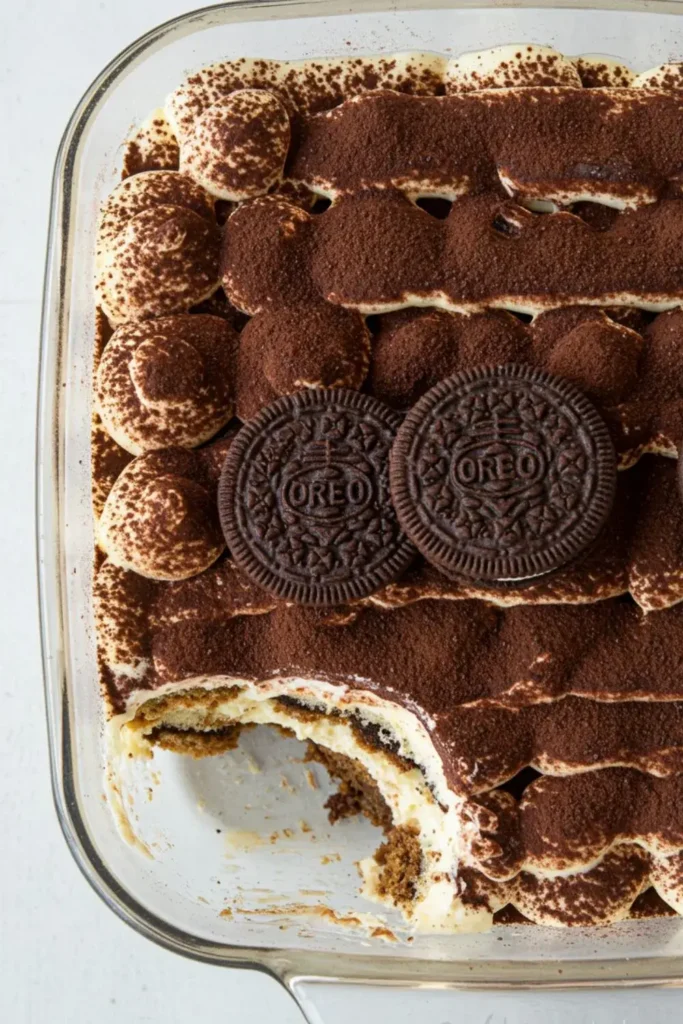
- Assemble the First Layer: Dip each Oreo cookie briefly (1-2 seconds per side) in the coffee mixture. Don’t soak too long, or they’ll fall apart – I learned this the hard way when Emma “helped” and turned our cookies to mush! Place a layer of dipped Oreos in the bottom of your dish, breaking some in half to fill gaps. You’ll use about 12-15 cookies per layer.
- Add Cream Layer: Spread a third of the mascarpone mixture over the Oreos, smoothing it with a spatula. It doesn’t have to be perfect – mine never is at this stage!
- Repeat Layers: Add another layer of dipped Oreos, then another third of the cream mixture. Finish with a final layer of Oreos and the remaining cream, smoothing the top. You should have three layers of cookies and three of cream.
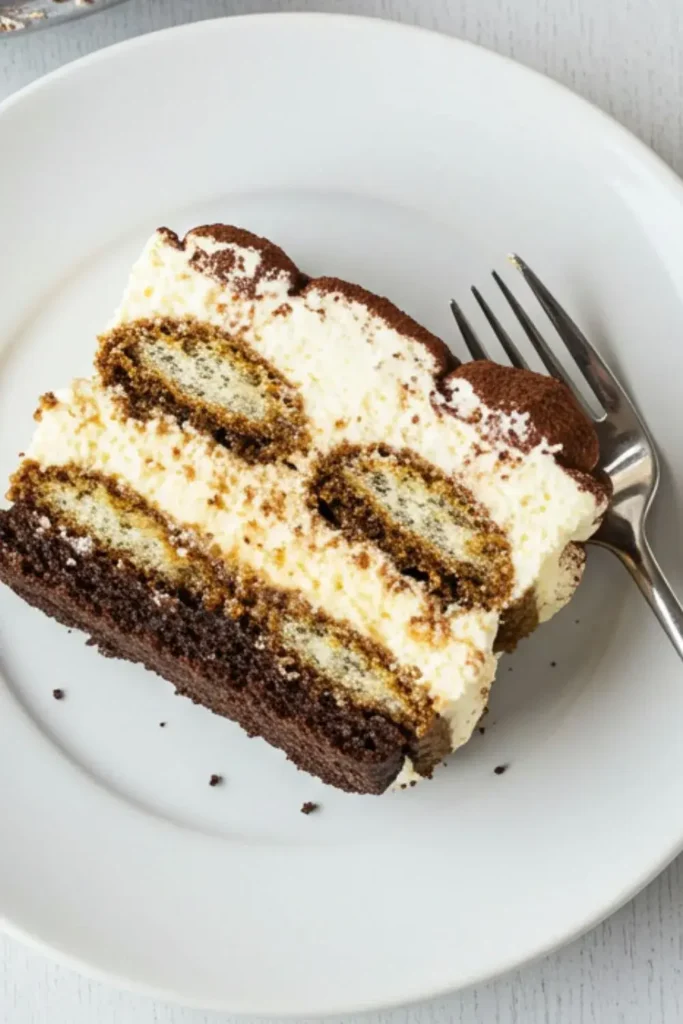
- Chill and Set: Cover the dish with plastic wrap and refrigerate for at least 4 hours, ideally overnight. This is where patience becomes your best friend. I know it’s tempting to dig in early – I’ve been there! – but the flavors need time to meld, and the Oreos will soften to that perfect cake-like texture.
- Finish and Serve: Before serving, dust the top with cocoa powder using a sifter for that classic tiramisu look. For extra flair, I sometimes sprinkle on crushed Oreo crumbs. Slice into squares or scoop with a spoon – either way, it’s delicious.
Pro Tips for Oreo Tiramisu Success
After years of making this Oreo Tiramisu (and a few flops along the way), I’ve gathered some tricks to ensure yours turns out perfectly every time. Here’s what I tell my customers at Sophie’s Sweet Haven:
- Don’t Oversoak the Oreos: A quick dip is all they need. I once left them in too long, and my tiramisu was more like soup – not my finest moment!
- Use Cold Cream: Warm cream won’t whip properly. Pop your bowl and beaters in the fridge for 10 minutes if your kitchen’s warm.
- Taste the Coffee: If it’s too weak, your dessert will lack that bold flavor. I always brew it stronger than I’d drink.
- Chill Properly: Four hours is the minimum, but overnight is best. I’ve tried rushing this, and the texture just isn’t the same.
- Smooth the Cream Gently: Use a spatula to avoid disturbing the Oreo layers. It’s less about perfection and more about even coverage.
If your cream mixture splits or looks grainy, don’t toss it! Whisk in a tablespoon of cold cream to bring it back. Baking teaches us that most mistakes are fixable.
Variations and Customizations for Oreo Tiramisu
One of the joys of Oreo Tiramisu is how adaptable it is. I love experimenting with recipes, and this one’s no exception. Here are some variations I’ve tried over the years, inspired by seasons, cravings, or customer requests:
- Mint Oreo Tiramisu: Use Mint Oreos and add a drop of peppermint extract to the cream. Perfect for winter holidays – the smell alone is divine!
- Peanut Butter Twist: Swap in Peanut Butter Oreos and drizzle melted peanut butter over the top. My kids go wild for this one.
- Berry Boost: Layer fresh raspberries or strawberries between the cream and Oreos for a summery pop. I do this in June when Oregon berries are at their peak.
- Boozy Version: Add a tablespoon of rum or amaretto to the coffee mixture for an adult-only treat. I served this at a friend’s bridal shower, and it was a hit.
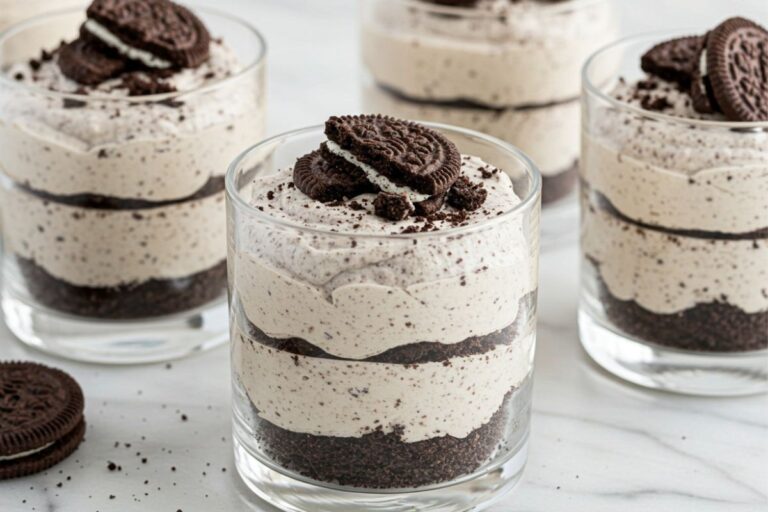
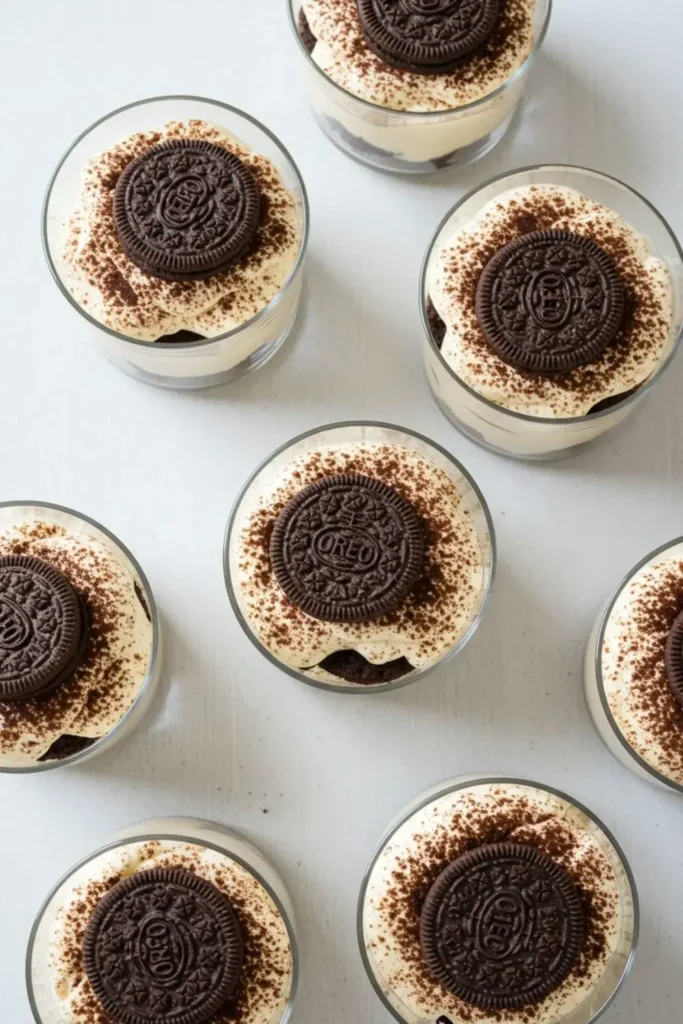
- Mini Tiramisus: Assemble in individual glasses or mason jars for a fancy presentation. Great for parties or gifting – I did this for a neighbor’s birthday.
Feel free to make it your own! Nonna Rosa always said, “A recipe is just a starting point – add your heart to it.”
Storing and Serving Your Oreo Tiramisu
Oreo Tiramisu is a make-ahead hero, which is why I love it for entertaining. Here’s how to store and serve it for the best results:
- Storage: Cover tightly with plastic wrap and refrigerate for up to 3 days. The flavors get better with time, but after day three, the texture can get soggy. I’ve never had leftovers last that long, though!
- Freezing: I don’t recommend freezing – the cream can separate, and the Oreos lose their magic. If you must, freeze individual portions for up to a month, but fresh is best.
- Serving: Serve chilled, straight from the fridge. I like to pair it with espresso (David’s roasts, of course!) or a glass of milk for that Oreo nostalgia. For summer, try it with fresh berries or a scoop of vanilla ice cream.
Pro tip: Use a sharp knife dipped in hot water to cut clean slices. It’s a little trick I picked up during my bakery days.
Recipe Summary
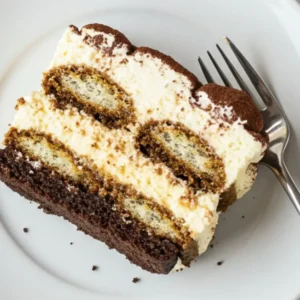
Special Oreo Tiramisu
Ingredients
- 36-40 Oreo cookies
- 1 ½ cups strong espresso or coffee cooled
- 2 tbsp coffee liqueur optional
- 16 oz mascarpone cheese room temperature
- 1 ½ cups heavy whipping cream cold
- ½ cup granulated sugar
- 1 tsp pure vanilla extract
- 2-3 tbsp unsweetened cocoa powder for dusting
Instructions
- Pour cooled espresso or coffee into a shallow dish; add coffee liqueur if using.
- Beat heavy cream with sugar and vanilla until stiff peaks form.
- Whisk mascarpone until smooth, then fold in whipped cream.
- Dip Oreos briefly in coffee mixture; layer in dish.
- Spread a third of the mascarpone mixture over Oreos.
- Repeat for two more layers of Oreos and cream.
- Cover and refrigerate for at least 4 hours, ideally overnight.
- Dust with cocoa powder before serving.
Equipment
For detailed step-by-step instructions, check out the full recipe above.
Equipment
- 9×9-inch or 8×11-inch dish
- Mixing bowls
- Electric mixer or whisk
- Spatula
- Shallow dish for dipping
- Sifter or fine mesh strainer
⚠ Note: Some of the links above are affiliate links. If you click and purchase, I may earn a small commission—at no extra cost to you. Thank you for your support!
Conclusion
Oreo Tiramisu is one of those desserts that feels like a hug from your childhood and a nod to grown-up indulgence all at once. I’ve made this recipe countless times – for family dinners, bakery orders, and even just because it’s a rainy day and Emma wants to “bake with Mommy.” Each time, it brings back memories of Nonna Rosa’s kitchen and those early days when I was just learning to love baking.
I hope this recipe becomes a favorite in your home, too. Whether you’re making it for a special occasion or just to treat yourself, take your time, enjoy the process, and don’t worry if it’s a little messy – mine always is at first! Let me know how it turns out, and happy baking!
Discover No-Bake Desserts
FAQs
How long does tiramisu take to set?
Tiramisu typically needs at least 4 hours in the fridge to set, but for best results, let it chill overnight. This gives the flavors time to meld together and the texture to firm up.
What does the tiramisu Oreo taste like?
The Oreo tiramisu combines the creamy, slightly tangy flavor of mascarpone with the chocolatey richness of Oreos. The espresso-soaked cookies add a deep, coffee-flavored kick that balances the sweetness, creating a perfect blend of textures and tastes.
How do you keep tiramisu from getting soggy?
To avoid sogginess, dip the Oreos briefly (1-2 seconds) in the espresso or milk—just enough to soften them without over-saturating. Additionally, ensure you chill the tiramisu for long enough so it can set properly and hold its shape.
What can go wrong when making tiramisu?
Common issues include:
- Oversoaking the cookies: This makes the layers too mushy. Always dip briefly.
- Mascarpone not blending properly: Make sure the mascarpone and cream are cold and well-mixed to avoid lumps.
- Not chilling long enough: Tiramisu needs time to set, so be sure to chill it for at least 4 hours, preferably overnight, for the best texture.
