3-Ingredient Peanut Butter Cookies: The Easiest, Most Delicious Treat
There’s nothing quite like the warm, nutty aroma of freshly baked 3-ingredient peanut butter cookies filling your kitchen. I recall the first time I stumbled upon this recipe during a late-night craving when my pantry was nearly empty. With just three simple ingredients, I was amazed at how perfectly chewy these cookies turned out, packed with peanut butter flavor. After years of baking and teaching others how to make easy peanut butter cookies, I’ve learned that sometimes less is more. This recipe is proof! Whether you’re a beginner baker or a seasoned pro, these cookies are a must-try for their simplicity and deliciousness. Let’s dive into how to make these delightful treats.
Jump to
Recipe Information Table
| Category | Details |
|---|---|
| Prep Time | 10 minutes |
| Cook Time | 8-10 minutes |
| Total Time | 18-20 minutes |
| Servings | 12 cookies |
| Estimated Calories | 150 kcal per cookie |
| Course | Dessert |
| Cuisine | American |
Essential Nutrition Breakdown for 3-Ingredient Peanut Butter Cookies
| Nutrient | Amount per Cookie (1 of 12) |
|---|---|
| Calories | 150 kcal |
| Protein | 5 g |
| Total Fat | 11 g |
| Carbohydrates | 10 g |
| Fiber | 1 g |
| Sugars | 8 g |
Essential Ingredients for Perfect 3-Ingredient Peanut Butter Cookies
The beauty of these 3-ingredient peanut butter cookies lies in their simplicity, but the quality of your ingredients makes all the difference. Let’s break down what you need and why each component matters.
- Peanut Butter (1 cup): Use creamy or crunchy natural peanut butter for the best texture and flavor. I’ve found that brands with just peanuts and salt (no added oils or sugars) give the cookies a rich, authentic taste. If you’re using a processed peanut butter like Jif or Skippy, the cookies will be slightly sweeter and softer, which some folks love! Avoid low-fat versions, as they can make the cookies dry. If you have a nut allergy, almond butter can work as a substitute, but it’ll change the flavor slightly.
- Sugar (½ cup): Granulated white sugar works best to balance the peanut butter’s richness and create that classic chewy texture. I’ve experimented with brown sugar for a deeper, molasses-like flavor, but it makes the cookies softer and less structured. For a healthier twist, you can try coconut sugar, but expect a slightly different taste. The sugar also helps the cookies spread just enough during baking.
- Egg (1 large): The egg acts as the binder, holding everything together and adding a touch of moisture. I’ve made these with a flax egg for a vegan version (1 tbsp ground flaxseed mixed with 3 tbsp water), and while it works, the cookies are a bit denser. Stick with a large egg for the classic recipe.
Why so few ingredients? The peanut butter cookie recipe relies on the natural oils in peanut butter to replace butter or oil, and the egg provides just enough structure without needing flour. This makes it a fantastic gluten-free dessert option, too! Always double-check your peanut butter label to ensure it’s gluten-free if that’s a concern.
Discover our 5 Guilt-Free Cookies You Can Make in 10 Min

Step-by-Step 3-Ingredient Peanut Butter Cookie Recipe
Now, let’s get to the fun part—making these easy peanut butter cookies! I’ll walk you through each step as if we’re baking together in my kitchen. This recipe is so simple, you’ll have a batch ready in no time.
- Preheat the Oven: Set your oven to 350°F (175°C) and line a baking sheet with parchment paper or a silicone baking mat. I’ve learned the hard way that skipping the parchment can lead to sticky cookies, so don’t skip this step!
- Mix the Ingredients: In a medium mixing bowl, combine 1 cup of peanut butter, ½ cup of granulated sugar, and 1 large egg. Use a wooden spoon or a sturdy spatula to mix until everything is fully combined. The dough will be thick and slightly sticky, with a glossy shine. If you’re using crunchy peanut butter, you’ll see those lovely nutty bits throughout—my personal favorite for extra texture!
- Scoop the Dough: Use a tablespoon or small cookie scoop to portion out the dough. Roll each scoop into a 1-inch ball. You should get about 12 balls. Place them on the prepared baking sheet, leaving about 2 inches of space between each one. These cookies spread a bit, so give them room to breathe.
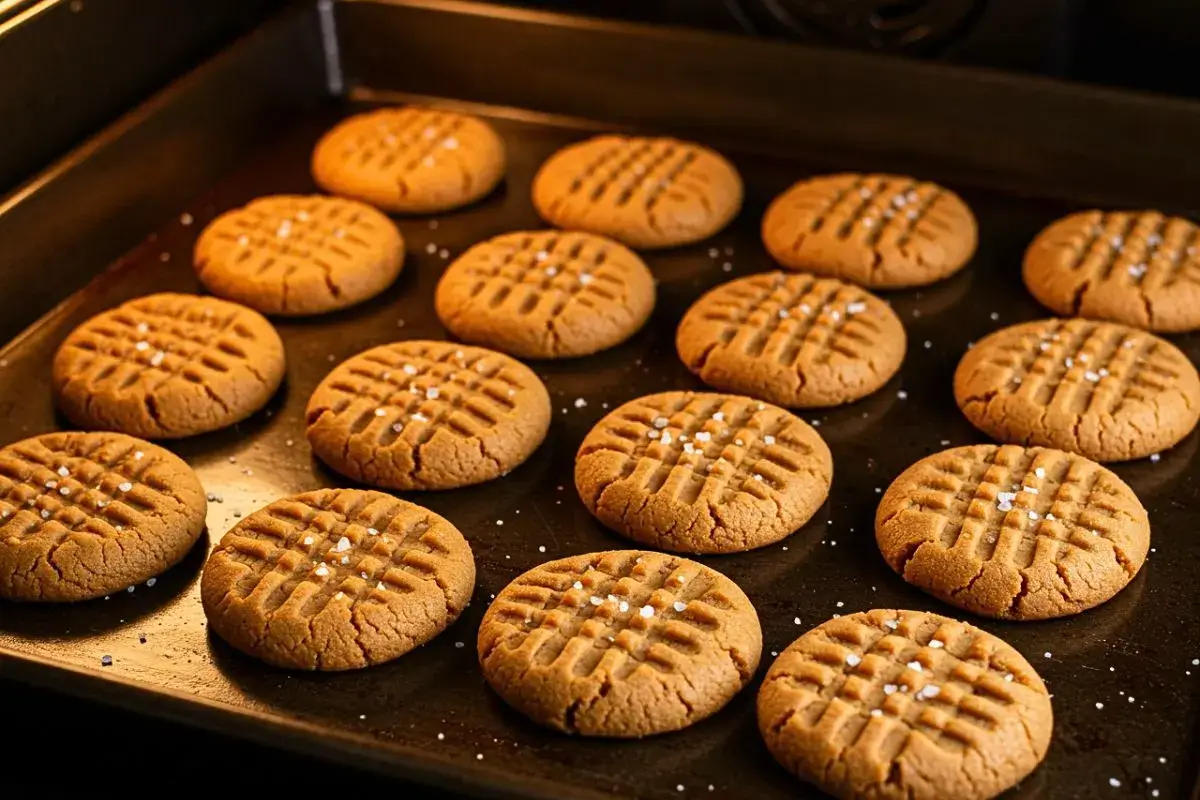
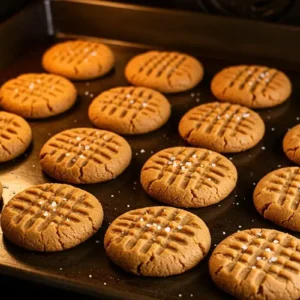
- Create the Classic Crisscross Pattern: Here’s where I channel my inner grandma! Use a fork to gently press down on each dough ball, creating a crisscross pattern. This not only gives the cookies their iconic look but also helps them bake evenly. If the fork sticks, dip it in a bit of sugar first. Press just enough to flatten slightly—about ½-inch thick.
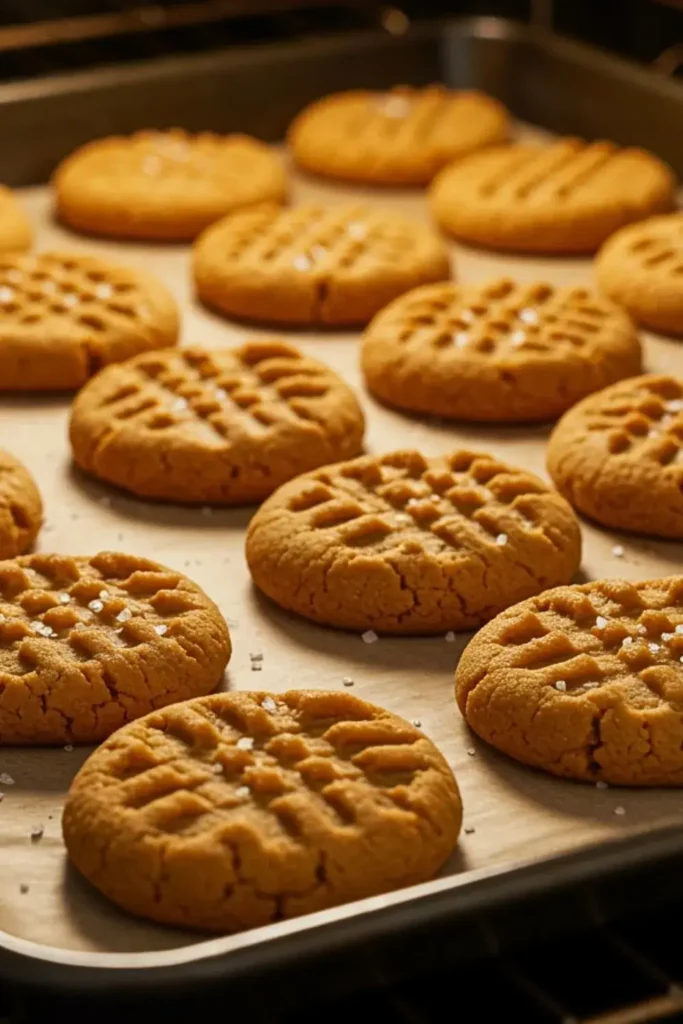
- Bake to Perfection: Pop the baking sheet into the oven and bake for 8-10 minutes. You’ll know they’re done when the edges are set and slightly golden, but the centers still look soft. Don’t overbake! I made that mistake early on, and the cookies turned out too crunchy. They firm up as they cool.
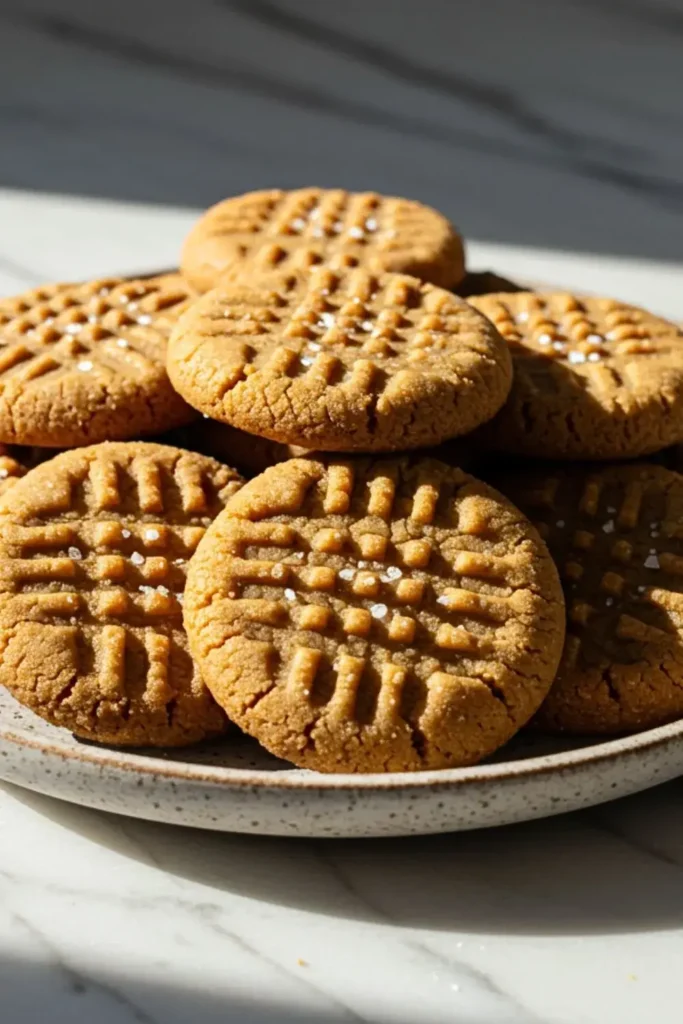
- Cool and Enjoy: Let the cookies cool on the baking sheet for 5 minutes before transferring them to a wire rack. They’ll be delicate at first, so be patient. Once cooled, they’re ready to enjoy with a glass of milk or your favorite coffee.
This peanut butter cookie recipe is forgiving, but timing is key. Trust your senses—the nutty aroma will tell you when they’re just right.
Pro Tips for 3-Ingredient Peanut Butter Cookie Success
After baking countless batches of these easy peanut butter cookies, I’ve picked up a few tricks to ensure they turn out perfect every time:
- Chill the Dough (Optional): If your dough feels too sticky or your kitchen is warm, pop the dough balls in the fridge for 10-15 minutes before baking. This helps them hold their shape and enhances the crisscross pattern.
- Adjust for Crunchy vs. Creamy: Crunchy peanut butter gives a delightful texture, but creamy makes smoother, softer cookies. I love crunchy for snacking and creamy for gifting—they look more polished.
- Don’t Skip the Fork Pattern: Beyond aesthetics, the fork marks help the cookies bake evenly. Without them, the centers might stay too soft.
- Check Your Oven: Ovens vary, so start checking at 8 minutes. If your cookies come out too soft or too crisp, adjust the baking time by a minute or two next time.
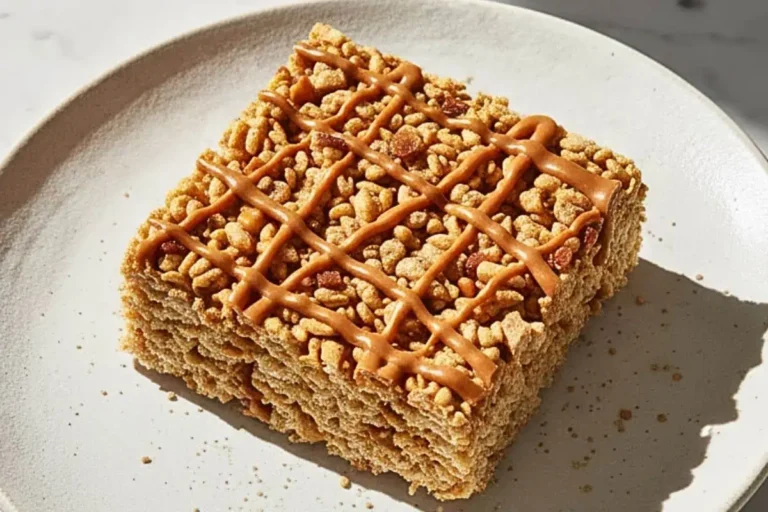
- Experiment with Add-Ins: While not traditional, a pinch of sea salt on top before baking adds a gourmet touch. I’ve also sprinkled in mini chocolate chips for my kids, and they go wild for it!
No-Bake Peanut Butter Cheesecake Balls
Variations and Customizations for 3-Ingredient Peanut Butter Cookies
One of the joys of this peanut butter cookie recipe is how versatile it is. Here are a few ways to switch things up:
- Chocolate-Dipped: Melt some dark chocolate and dip half of each cooled cookie for a decadent treat. Sprinkle with crushed peanuts for extra flair.
- Vegan Version: Swap the egg for a flax egg (1 tbsp ground flaxseed + 3 tbsp water, let sit for 5 minutes). The cookies will be slightly denser but still delicious.
- Spiced Up: Add ½ tsp of cinnamon or a pinch of nutmeg to the dough for a warm, cozy flavor—perfect for fall baking.
- Nut-Free Option: Use sunflower seed butter instead of peanut butter for a school-safe version. The flavor is less intense, but it’s still tasty.
These variations keep the recipe exciting, especially if you’re making them for a crowd or a special occasion like a holiday cookie swap.
Storing and Serving Your 3-Ingredient Peanut Butter Cookies
To keep your 3-ingredient peanut butter cookies fresh and delicious:
- Storage: Store cooled cookies in an airtight container at room temperature for up to 5 days. I like to add a piece of parchment paper between layers to prevent sticking. For longer storage, freeze them in a freezer-safe bag for up to 3 months. Thaw at room temperature for 10 minutes before enjoying.
- Serving Suggestions: These cookies are perfect with a cold glass of milk, almond milk, or even a cup of hot cocoa. For a fun dessert, crumble them over vanilla ice cream or sandwich a scoop of ice cream between two cookies.
- Gifting: Package them in a cute tin with wax paper for a heartfelt, homemade gift. I’ve given these out during the holidays, and they’re always a hit!
3-Ingredient Peanut Butter Cookies
Ingredients
- 1 cup peanut butter creamy or crunchy
- ½ cup granulated sugar
- 1 large egg
Instructions
- Preheat oven to 350°F (175°C) and line a baking sheet with parchment paper.
- Mix peanut butter, sugar, and egg until combined.
- Scoop and roll dough into 1-inch balls, place on baking sheet.
- Press a crisscross pattern with a fork.
- Bake for 8-10 minutes until edges are set.
- Cool on baking sheet for 5 minutes, then transfer to a rack.
Equipment
- Mixing bowl
- Wooden spoon or spatula
- Baking sheet
- Parchment paper or silicone baking mat
- Fork
- Wire cooling rack
FAQ
Can I make 3-ingredient peanut butter cookies without sugar? You can try substituting honey or maple syrup, but the texture will be softer and stickier. Reduce the amount to ⅓ cup and chill the dough before baking.
Are these cookies gluten-free? Yes, as long as your peanut butter is gluten-free (check the label). This makes them a great gluten-free dessert option.
Can I double the recipe? Absolutely! Just double the ingredients and bake in batches if needed. The dough keeps well in the fridge for up to 2 days.
Why are my cookies too crumbly? This usually happens if the peanut butter is too dry or low-fat. Try adding a teaspoon of water or using a creamier peanut butter next time.
How do I make the cookies softer? Slightly underbake them (7-8 minutes) and let them cool completely on the baking sheet. This keeps the centers chewy.
Can I use natural peanut butter? Yes! Natural peanut butter is my go-to for the best flavor, just make sure it’s well-stirred to incorporate the oils.
Conclusion
These 3-ingredient peanut butter cookies are a game-changer for anyone who loves quick, delicious desserts. With their rich peanut butter flavor, chewy texture, and iconic crisscross pattern, they’re a nostalgic treat that never fails to impress. Whether you’re baking for a last-minute gathering, a cozy night in, or just because, this easy peanut butter cookie recipe will become a staple in your kitchen. I’ve shared these with friends, family, and even my baking students, and they always disappear fast! Try them out, and let me know how they turn out in your kitchen.