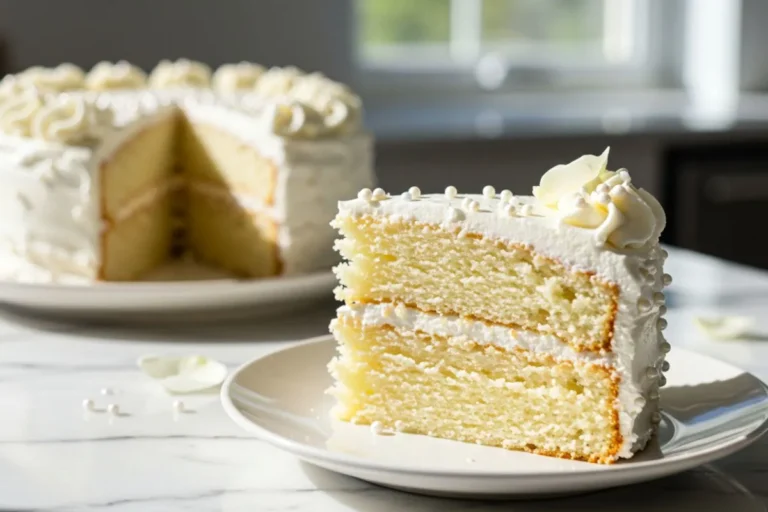
Classic Vanilla Birthday Cake: A Timeless Celebration Centerpiece
There’s something undeniably magical about a Classic Vanilla Birthday Cake, fresh from the oven, filling your kitchen with that warm, buttery aroma that promises joy. I still remember baking my first one for my daughter Emma’s third birthday – let’s just say the lopsided layers and I had a learning moment! After 12 years as a professional baker at Sophie’s Sweet Haven and countless cakes for family and friends, this recipe is my go-to.
It’s fluffy, moist, and versatile enough to dress up for any celebration, from a toddler’s party to an elegant adult gathering. Whether you’re a baking newbie or a seasoned pro, this Classic Vanilla Birthday Cake will make you look like a star. Let’s dive in and create some birthday magic together!
Jump to
Essential Ingredients for Perfect Classic Vanilla Birthday Cake
Let’s talk ingredients – the foundation of any great cake. I’ve baked enough Classic Vanilla Birthday Cakes to know that quality matters, but you don’t need to break the bank. Here’s what you’ll need and why each ingredient is key, along with some substitutions I’ve tested over the years.
- All-purpose flour (2 ½ cups): Provides structure. I stick with King Arthur or Gold Medal for consistent results. For gluten-free, use a 1:1 baking blend like Bob’s Red Mill – I’ve made this swap for customers with great success.
- Granulated sugar (1 ¾ cups): Sweetens and tenderizes the cake. Don’t reduce it, or you’ll lose moisture – I learned this the hard way when I tried to “healthify” a batch!
- Unsalted butter (¾ cup, softened): Adds rich flavor and a velvety texture. Use room-temperature butter for proper creaming. For dairy-free, swap with plant-based butter like Earth Balance.
- Large eggs (3): Bind the batter and add richness. Room temperature is a must for a smooth mix – cold eggs once gave me a lumpy batter disaster. For vegans, try 3 flax eggs (1 tbsp ground flaxseed + 3 tbsp water per egg).
- Pure vanilla extract (1 tbsp): The star of the show, giving that warm, nostalgic flavor. Splurge on real vanilla – imitation just doesn’t compare. I use Nielsen-Massey for its floral notes.
- Baking powder (2 tsp): Lifts the cake for a light, fluffy crumb. Check that it’s fresh; old baking powder can lead to flat cakes.
- Salt (½ tsp): Enhances flavors. I forgot this once for a wedding cake – never again!
- Whole milk (1 cup): Adds moisture and tenderness. Buttermilk works too for a slightly tangier, softer crumb. For dairy-free, use unsweetened almond or oat milk.
You’ll also need nonstick spray or parchment paper for your pans. These ingredients come together to create a cake that’s sturdy yet tender, perfect for stacking or decorating. Gather everything before you start – my mise en place habit saves me every time!
Step-by-Step Classic Vanilla Birthday Cake Recipe
Here’s where the fun begins! This recipe makes two 8-inch round layers, enough for 10-12 servings. I’ve broken it down as if I’m standing next to you in the kitchen, sharing tips I’ve learned from years of baking. It usually takes me about 45 minutes to prep and 25-30 minutes to bake. Let’s get started.
Ingredients
- 2 ½ cups (300g) all-purpose flour
- 2 tsp baking powder
- ½ tsp salt
- ¾ cup (170g) unsalted butter, softened
- 1 ¾ cups (350g) granulated sugar
- 3 large eggs, room temperature
- 1 tbsp pure vanilla extract
- 1 cup (240ml) whole milk, room temperature
Equipment
- Two 8-inch round cake pans →Recommended 8-inch round cake pans
- Parchment paper
- Mixing bowl
- Electric mixer or whisk
- Rubber spatula
- Cooling rack →Recommended Cooling rack
- Cake leveler (optional but handy)
Instructions
- Preheat and prep (5 minutes): Preheat your oven to 350°F (175°C). Grease two 8-inch round cake pans with nonstick spray and line the bottoms with parchment paper rounds. I learned the hard way that skipping parchment leads to cakes that stick – trust me, it’s worth the extra step!
- Mix dry ingredients (3 minutes): In a medium bowl, whisk together flour, baking powder, and salt. Set aside. This ensures even distribution of leaveners, so your cake rises uniformly.
- Cream butter and sugar (5-7 minutes): In a large mixing bowl, use an electric mixer to beat the softened butter and sugar on medium speed until light and fluffy. This usually takes me 5 minutes with a stand mixer or 7 with a hand mixer. You’re looking for a pale, creamy texture – this step adds air for a fluffy cake.
- Add eggs and vanilla (3 minutes): Beat in the eggs one at a time, mixing well after each. Don’t worry if it looks slightly curdled – mine does too sometimes! Add the vanilla extract and mix until combined. Scrape down the bowl with a spatula to ensure everything’s incorporated.
- Combine wet and dry (5 minutes): Add half the dry ingredients to the butter mixture, mixing on low speed until just combined. Pour in the milk and mix – it might look a bit lumpy, but that’s normal. Add the remaining dry ingredients and mix until smooth, about 1 minute. Don’t overmix; it’ll make the cake dense. I made this mistake early on and ended up with a tough cake!
- Divide and bake (25-30 minutes): Divide the batter evenly between the prepared pans – I use a scale for precision, but eyeballing works too. Smooth the tops with a spatula. Bake for 25-30 minutes, until a toothpick inserted in the center comes out clean or with a few moist crumbs. Rotate the pans halfway through for even baking.
- Cool and release (10 minutes): Let the cakes cool in the pans for 10 minutes. Run a knife around the edges, then invert onto a cooling rack. Peel off the parchment and let cool completely, about 1 hour. Don’t frost warm cakes – I’ve had frosting slide off before!
- Frost and decorate: Once cooled, level the cakes with a serrated knife or cake leveler if needed. Frost with your favorite buttercream (see below for my go-to recipe). Decorate with sprinkles, berries, or piping as desired.
American Buttercream Frosting
- Ingredients: 1 cup (225g) unsalted butter (softened), 4 cups (480g) powdered sugar, 1 tsp vanilla extract, 2-3 tbsp milk.
- Instructions: Beat butter until creamy, about 2 minutes. Gradually add powdered sugar, beating on low until combined, then high for 3 minutes. Add vanilla and milk, adjusting for desired consistency. This makes enough to frost a two-layer cake.
Pro Tips for Classic Vanilla Birthday Cake Success
Here’s where my years of baking come in handy. These tips will elevate your Classic Vanilla Cake from good to unforgettable:
- Room-temperature ingredients are non-negotiable. Cold butter or eggs lead to a dense cake. Let them sit out for 30-60 minutes before starting.
- Measure flour correctly. Spoon it into your measuring cup and level it off with a knife. Packing it in can add too much flour, making the cake dry – I’ve tossed batches because of this!
- Don’t skip the creaming step. Beating butter and sugar until light and fluffy incorporates air, which gives the cake its lift. Under-creaming was my downfall during my Great Soufflé Disaster of 2019!
- Check your oven temperature. Use an oven thermometer; my old oven ran 25°F hot, causing uneven bakes. Rotate pans halfway through for even heat.
- Cool completely before frosting. Warm cakes melt frosting – trust me, I’ve had a few slippery disasters! If you’re in a rush, pop the cakes in the fridge for 20 minutes.
- Use a cake leveler for even layers. It’s a cheap tool that makes your cake look pro. If you don’t have one, a serrated knife works, but go slow.
If your cake sinks in the middle, you might have opened the oven too soon or used old baking powder. Don’t panic – fill the dip with extra frosting for a rustic look!
Variations and Customizations for Classic Vanilla Birthday Cake
The beauty of a Classic Vanilla Birthday Cake is its versatility. Here are some ways to make it your own, based on ideas I’ve tried for birthdays at Sophie’s Sweet Haven:
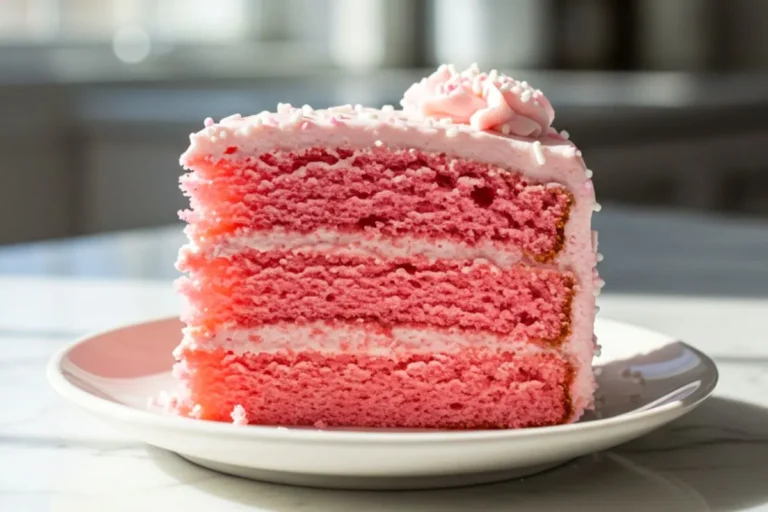
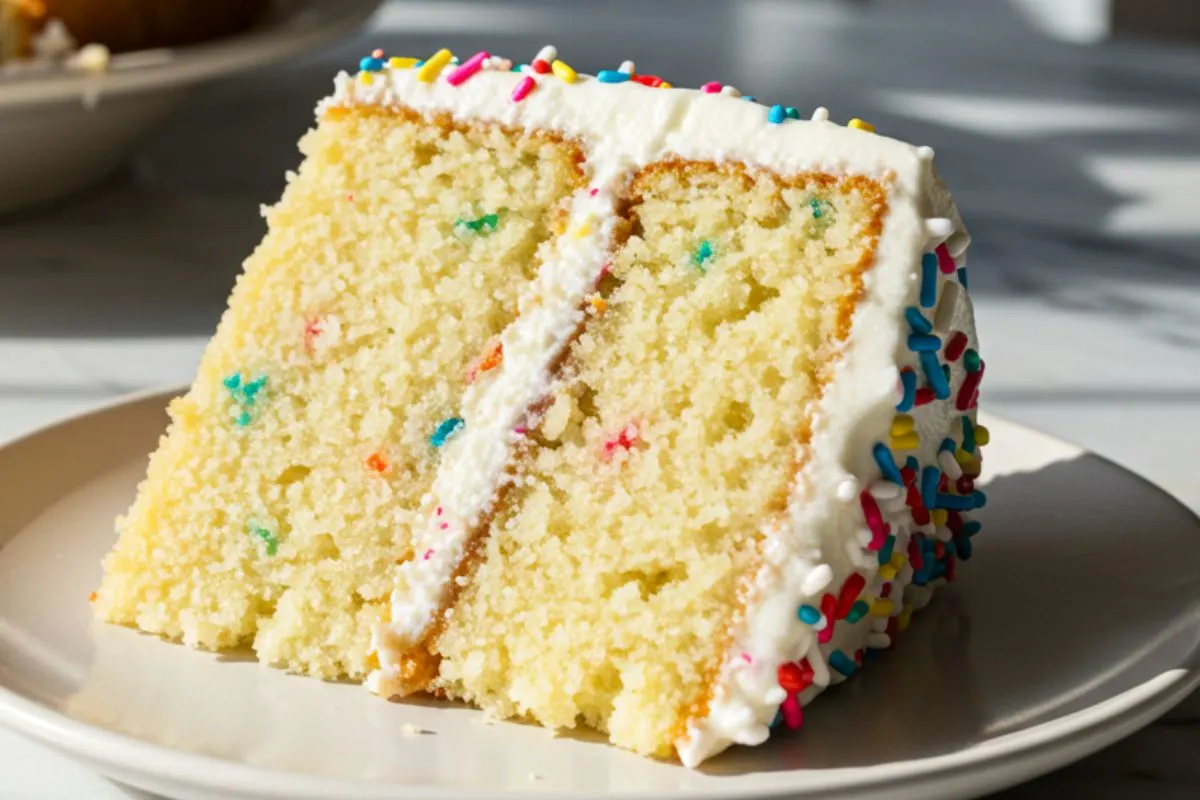
- Funfetti twist: Fold in ½ cup rainbow jimmies to the batter for a confetti cake vibe, perfect for kids’ parties like my son Lucas’ fourth birthday.
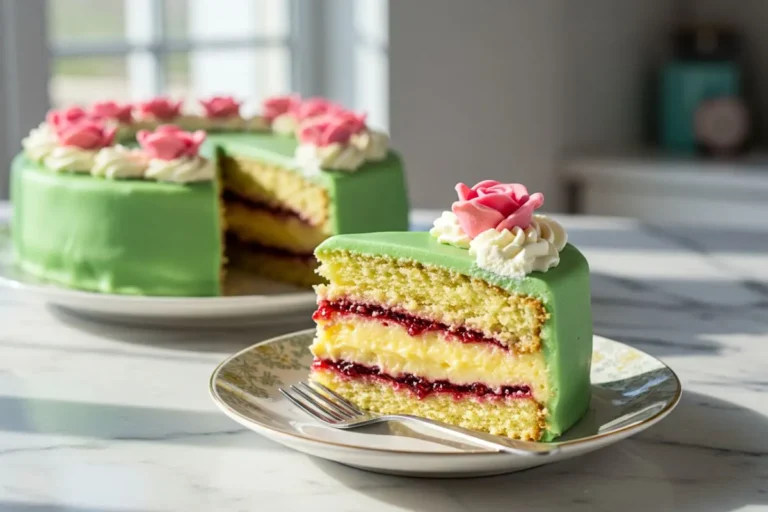
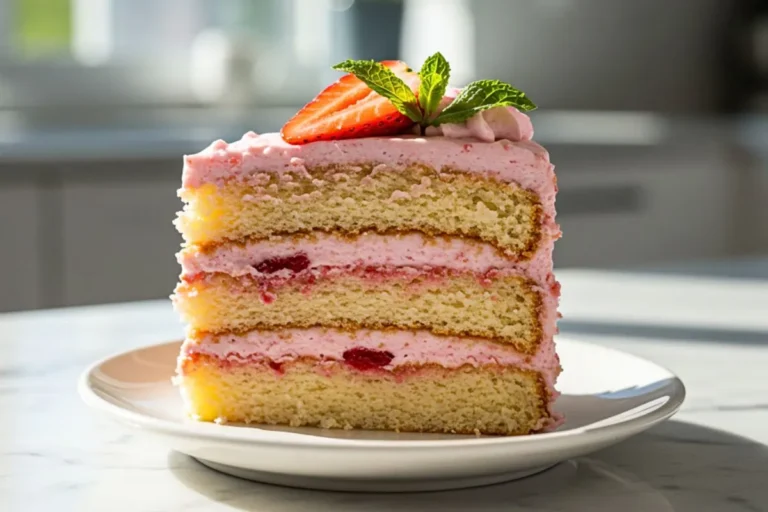
- Berry burst: Layer with fresh strawberries or raspberries and whipped cream for a summery spin. I love this for spring birthdays.
- Chocolate lover’s dream: Frost with chocolate ganache (8 oz dark chocolate + 1 cup hot cream) for a decadent contrast.
- Citrus kick: Add 1 tbsp lemon or orange zest to the batter for a bright, zesty note, great for adult celebrations.
- Gluten-free or vegan: Swap flour for a 1:1 gluten-free blend and use plant-based butter and flax eggs. I’ve made this for clients with dietary needs, and it’s a hit.
- Mini cakes: Bake in 6-inch pans for a smaller crowd (reduce bake time to 20-25 minutes). Perfect for intimate gatherings.
Storing and Serving Your Classic Vanilla Cake
To keep your Classic Vanilla Cake fresh and delicious, follow these storage tips I’ve honed over years of baking:
- Room temperature: Store unfrosted layers, tightly wrapped in plastic, for up to 2 days. Frosted cakes can sit in an airtight container for 1-2 days – any longer, and the frosting starts to dry out.
- Fridge: If frosted with perishable frosting (like cream cheese), store in the fridge for up to 5 days. Wrap slices in plastic to prevent drying. Let slices come to room temperature before serving for the best flavor.
- Freezer: Freeze unfrosted layers, wrapped in plastic and foil, for up to 3 months. Thaw overnight in the fridge before frosting. I do this for busy weeks at the bakery!
- Serving: Serve at room temperature for the softest texture and fullest flavor. Pair with ice cream, fresh fruit, or a cup of David’s roasted coffee for a perfect birthday treat.
For a stunning presentation, place the cake on a stand and garnish with edible flowers or extra sprinkles. The smell alone will have your guests gathered around!

Classic Vanilla Birthday Cake
Ingredients
- All-purpose flour: 2 ½ cups 300g
- Baking powder: 2 tsp
- Salt: ½ tsp
- Unsalted butter: ¾ cup 170g, softened
- Granulated sugar: 1 ¾ cups 350g
- Large eggs: 3 room temperature
- Pure vanilla extract: 1 tbsp
- Whole milk: 1 cup 240ml, room temperature
- For American Buttercream Frosting:
- Unsalted butter: 1 cup 225g, softened
- Powdered sugar: 4 cups 480g
- Vanilla extract: 1 tsp
- Milk: 2-3 tbsp
Instructions
- Preheat oven to 350°F (175°C); grease and line two 8-inch round pans.
- Whisk flour, baking powder, and salt.
- Cream butter and sugar until light and fluffy.
- Add eggs one at a time, then vanilla; mix well.
- Alternate adding dry ingredients and milk, mixing until just combined.
- Divide batter between pans; bake 25-30 minutes until toothpick comes out clean.
- Cool in pans 10 minutes, then transfer to rack to cool completely.
- For frosting: Beat butter, add powdered sugar, vanilla, and milk; mix until smooth.
- Level cakes, frost, and decorate as desired.
Equipment
- Two 8-inch round cake pans →Recommended 8-inch round cake pans
- Parchment paper
- Mixing bowl
- Electric mixer or whisk
- Rubber spatula
- Cooling rack →Recommended Cooling rack
- Cake leveler (optional but handy)
Conclusion
Baking a Classic Vanilla Birthday Cake is about creating memories as much as it is about creating dessert. Whether you’re celebrating a milestone or a quiet family moment, this recipe delivers joy in every bite. I’ve poured my 20+ years of baking love into this guide, from Nonna Rosa’s wisdom to my own kitchen mishaps, to help you bake with confidence. Don’t worry if your first try isn’t perfect – mine wasn’t either! Keep practicing, share your creations, and let this cake be the start of your own baking traditions. Want more celebration ideas? Check out my Mini Egg Cheesecakes for another party-perfect treat. Happy baking, friends!