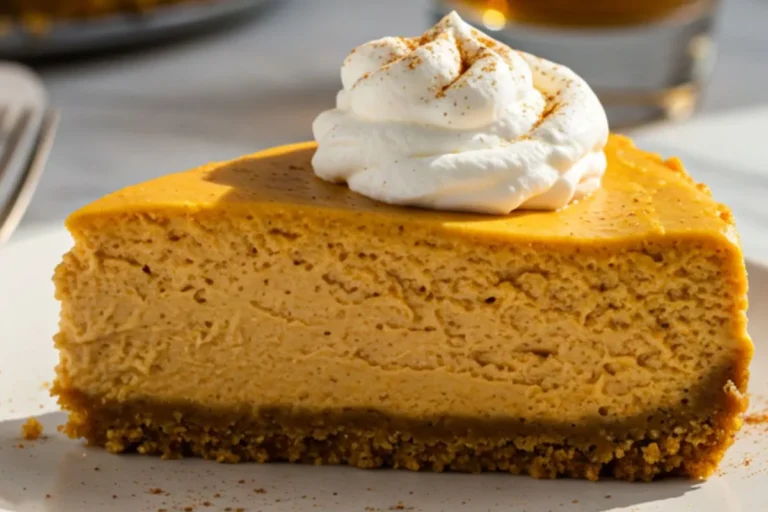
Pumpkin Pie Bars

There’s something about the smell of pumpkin pie bars baking in the oven that instantly transports me to crisp fall afternoons at Nonna Rosa’s house. I was probably ten when I first tried to make a pumpkin pie with her, only to realize I’d used salt instead of sugar in the filling – trust me, that was a lesson I never forgot! Years later, I started experimenting with pumpkin pie in bar form, and let me tell you, it’s a game-changer. These bars have all the creamy, spiced goodness of a classic pumpkin pie but in a portable, crowd-friendly shape. Perfect for fall gatherings, potlucks, or just cozy nights in, this recipe is one I’ve tweaked over countless batches to get just right. Whether you’re a seasoned baker or just dipping your toes into fall baking, I’m here to guide you through making these pumpkin pie bars a new favorite in your kitchen.
Table of Contents
Why Pumpkin Pie Bars Are Special
What makes pumpkin pie bars so special? For me, it’s the way they combine the nostalgic flavors of a traditional pumpkin pie with the ease of a bar dessert. The buttery, flaky crust gives you that pie-like satisfaction, while the creamy pumpkin filling, kissed with warm spices like cinnamon and nutmeg, screams autumn. Unlike a pie, though, these bars are sturdy enough to slice and serve without a fuss – no pie server required! I love how they’re just as at home on a Thanksgiving dessert table as they are packed in a lunchbox for a weekday treat.
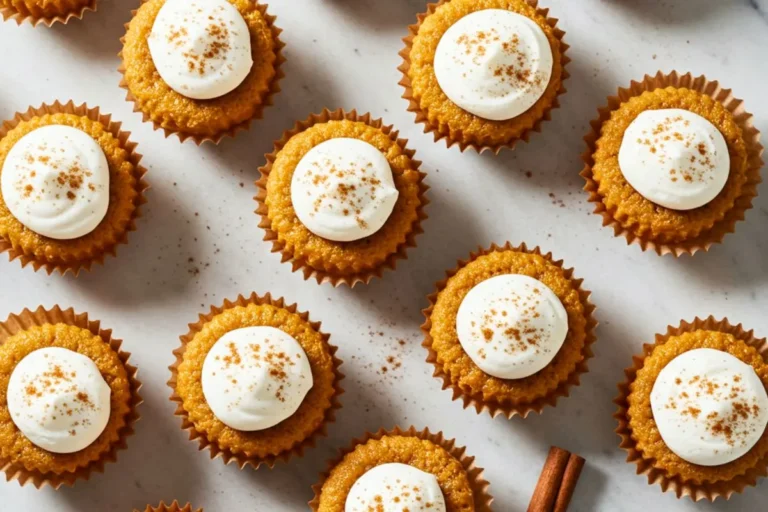
Over the years, I’ve learned that pumpkin pie bars are also incredibly forgiving. Forgot to chill the dough? They’ll still turn out delicious. Added a touch too much cinnamon? That’s just extra cozy flavor. This recipe is beginner-friendly yet impressive enough to wow your guests. Plus, they’re endlessly customizable – more on that later! Whether it’s the golden crust or the silky filling, these bars always bring back memories of Nonna Rosa’s kitchen, and I hope they’ll create some sweet memories for you too. Looking for more fall-inspired treats? Try our Bite-Sized Pumpkin Spice Cupcakes with Cream Cheese Frosting for another cozy dessert!

Recipe Information
| Prep Time | 20 minutes |
| Cook/Bake Time | 45-50 minutes |
| Total Time | 1 hour 10 minutes |
| Recipe Type | Dessert Bars |
| Difficulty Level | Beginner |
| Servings | 12 bars |
| Calories per Serving | Approximately 250 calories |
Essential Ingredients for Perfect Pumpkin Pie Bars
Let’s talk ingredients – the heart of any great recipe. I’ve spent years tweaking this list to balance flavor and texture, and I’m sharing the whys behind each choice so you can make these bars your own.
- All-purpose flour (1 ½ cups): This forms the base of our buttery crust. I’ve found that a good-quality all-purpose flour gives the perfect crumbly texture. Gluten-free flour can work if you’re avoiding gluten, but make sure it’s a 1:1 substitute.
- Unsalted butter (½ cup, cold and cubed): Cold butter is the secret to a flaky crust. I cut it into small cubes to make it easier to blend into the flour. If you’re dairy-free, a solid plant-based butter works, but avoid spreads.
- Granulated sugar (¼ cup for crust, ¾ cup for filling): The crust gets a touch of sweetness to complement the filling. For the filling, sugar balances the pumpkin’s earthiness. Brown sugar can add a caramel note if you want to experiment.
- Canned pumpkin puree (15 oz can): Not pumpkin pie filling – pure puree is key! I’ve made the mistake of grabbing the pre-spiced stuff, and it throws off the flavor balance. Libby’s is my go-to for consistent texture.
- Large eggs (2): These give the filling its custard-like structure. Room-temperature eggs blend better, so set them out while you prep the crust.
- Heavy cream (½ cup): This adds richness to the filling. For a lighter option, half-and-half works, but don’t skip the creaminess entirely – I tried that once, and the bars were too dense.
- Ground cinnamon (1 tsp), nutmeg (½ tsp), ginger (¼ tsp), cloves (¼ tsp): These warm spices are the soul of pumpkin pie bars. I’ve learned to measure carefully – too much clove can overpower. If you have pumpkin pie spice, 2 teaspoons can replace the individual spices.
- Salt (¼ tsp for crust, ¼ tsp for filling): A pinch in both the crust and filling enhances all the flavors. Trust me, I learned the hard way after forgetting it once!
- Vanilla extract (1 tsp): A splash of vanilla rounds out the filling’s flavor. Pure vanilla extract makes a difference, but imitation works in a pinch.
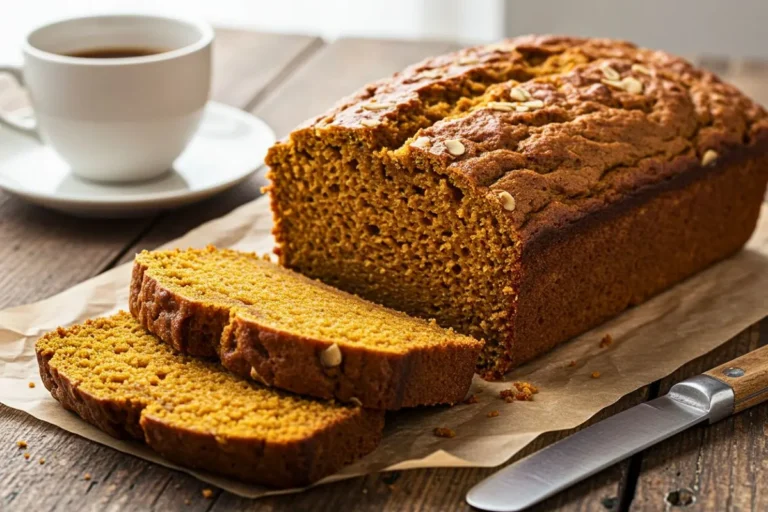
Want another pumpkin-packed treat? Our Pumpkin Chocolate Chip Oatmeal Bars use similar ingredients for a chewy twist!

Step-by-Step Pumpkin Pie Bars Recipe
Now, let’s get baking! I’m walking you through this as if I’m right there in your kitchen, sipping coffee and cheering you on. This recipe is straightforward, but I’ve included tips to avoid the mistakes I’ve made over the years.
- Preheat and Prep (5 minutes): Preheat your oven to 350°F (175°C). Line an 8×8-inch baking pan with parchment paper, leaving some overhang for easy removal. I learned this trick after struggling to get bars out of an unlined pan – parchment is your friend!
- Make the Crust (10 minutes): In a large bowl, combine 1 ½ cups flour, ¼ cup sugar, and ¼ tsp salt. Add the cold, cubed butter and use a pastry cutter or your fingers to work it into the flour until it resembles coarse crumbs. Don’t overwork it – you want those butter pieces for flakiness. Press the mixture evenly into the bottom of the prepared pan. Bake for 15 minutes until lightly golden. Set aside to cool slightly while you make the filling.
- Mix the Pumpkin Filling (5 minutes): In another bowl, whisk together the 15 oz pumpkin puree, ¾ cup sugar, 2 eggs, ½ cup heavy cream, 1 tsp cinnamon, ½ tsp nutmeg, ¼ tsp ginger, ¼ tsp cloves, ¼ tsp salt, and 1 tsp vanilla extract. I like to whisk the eggs first, then add the rest – it makes the filling smoother. Don’t worry if it looks thin; it’ll set beautifully in the oven.
- Assemble and Bake (45-50 minutes): Pour the pumpkin filling over the pre-baked crust, spreading it evenly with a spatula. Bake for 45-50 minutes, until the center is set but still has a slight jiggle. I’ve found that checking at 45 minutes prevents overbaking – you don’t want cracks in the filling. Let the bars cool completely in the pan (about 2 hours).
- Chill and Slice (Optional, 2 hours): For cleaner cuts, refrigerate the bars for at least 2 hours. Use the parchment overhang to lift them out, then slice into 12 even bars. I’ve tried cutting them warm, and it’s a messy disaster – patience pays off here!
- Serve and Enjoy: Serve at room temperature or chilled, maybe with a dollop of whipped cream. The smell alone will have your kitchen feeling like fall! Craving more cozy fall flavors? Check out our Mini Apple Cider Donuts for a perfect pairing.
Pro Tips for Pumpkin Pie Bars Success
Here’s where my years of trial and error come in handy. These tips will help you nail the recipe every time:
- Don’t skip the pre-bake: Baking the crust first keeps it from getting soggy under the wet filling. I learned this after my first batch turned into a mushy mess.
- Check your spices: Fresh spices make a huge difference. If your cinnamon’s been in the pantry for years, it might be time for a refresh.
- Room-temperature ingredients: For the filling, let eggs and cream sit out for 20 minutes. It helps everything blend smoothly, avoiding lumps.
- Avoid overmixing the crust: Overworking the butter makes the crust tough. Stop when it looks like wet sand with some pea-sized butter bits.
- Test for doneness: The filling should jiggle slightly in the center, like a cheesecake. If it’s too liquidy, give it another 5 minutes, but don’t overbake.
Want to master more baking techniques? Our 7 Best High-Protein Energy Bar Ideas includes tips for perfect bar textures!

Variations and Customizations for Pumpkin Pie Bars
One of the joys of pumpkin pie bars is how versatile they are. Here are some variations I’ve tested (and loved):
- Chocolate Drizzle: Melt ½ cup dark chocolate chips and drizzle over the cooled bars for a decadent twist. It’s like a fall candy bar!
- Pecan Topping: Sprinkle ½ cup chopped pecans over the filling before baking for a nutty crunch. This pairs beautifully with the creamy filling.
- Gluten-Free Option: Swap the flour for a 1:1 gluten-free baking blend. I’ve used Bob’s Red Mill with great results.
- Spiced Whipped Cream: Whip 1 cup heavy cream with 1 tbsp powdered sugar and ½ tsp cinnamon for a fancy topping.
- Mini Bars: Use a 9×13 pan for thinner bars and cut into bite-sized pieces for parties. Reduce baking time by 5-10 minutes.
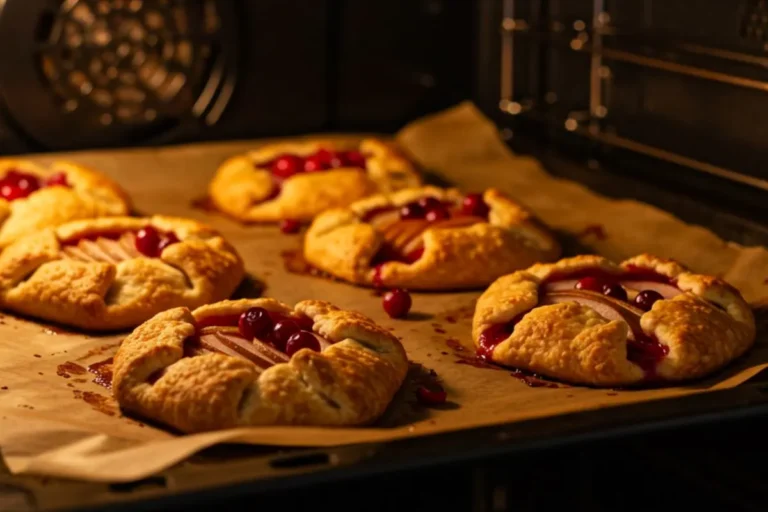
For more creative dessert ideas, try our Mini Pear & Cranberry Galettes for a rustic fall treat!
Storing and Serving Your Pumpkin Pie Bars
These bars store beautifully, making them perfect for make-ahead desserts. Here’s how to keep them fresh:
- Room Temperature: Store in an airtight container for up to 2 days. I’ve found they taste best on day one, fresh from the oven’s warmth.
- Refrigerator: Keep in the fridge for up to 5 days. The cold enhances the custard-like texture, making it even easier to slice.
- Freezer: Wrap individual bars tightly in plastic wrap, then place in a freezer-safe bag for up to 3 months. Thaw in the fridge overnight before serving.
- Serving Tip: I love serving these chilled with a sprinkle of powdered sugar or a scoop of vanilla ice cream for extra indulgence. They’re also great with a hot cup of coffee – my husband David’s favorite combo!

Pumpkin Pie Bars
Ingredients
- All-purpose flour 1 ½ cups
- Unsalted butter ½ cup, cold and cubed
- Granulated sugar ¼ cup for crust, ¾ cup for filling
- Canned pumpkin puree 15 oz can
- Large eggs 2
- Heavy cream ½ cup
- Ground cinnamon 1 tsp, nutmeg (½ tsp), ginger (¼ tsp), cloves (¼ tsp)
- Salt ¼ tsp for crust, ¼ tsp for filling
- Vanilla extract 1 tsp
Instructions
- Preheat oven to 350°F; line 8×8 pan with parchment.
- Mix flour, sugar, salt, and butter for crust; press into pan and bake 15 minutes.
- Whisk pumpkin puree, sugar, eggs, cream, spices, salt, and vanilla for filling.
- Pour filling over crust; bake 45-50 minutes until set.
- Cool, chill (optional), and slice into 12 bars.
Equipment
- 8×8-inch baking pan
- Parchment paper
- Mixing bowls
- Whisk
- Pastry cutter or fork
- Spatula
- Oven mitts
- Knife for slicing
Conclusion
Pumpkin pie bars are more than just a dessert – they’re a celebration of fall, family, and the joy of baking. I hope this recipe brings a little of Nonna Rosa’s kitchen magic to your home. Whether you’re baking for a holiday gathering or just treating yourself to a cozy treat, these bars are sure to impress. Don’t be afraid to make them your own – add a topping, tweak the spices, or share them with someone special. Baking is about creating memories, and I can’t wait for you to make these part of yours. Let me know how they turn out – I’m cheering you on from my kitchen to yours!