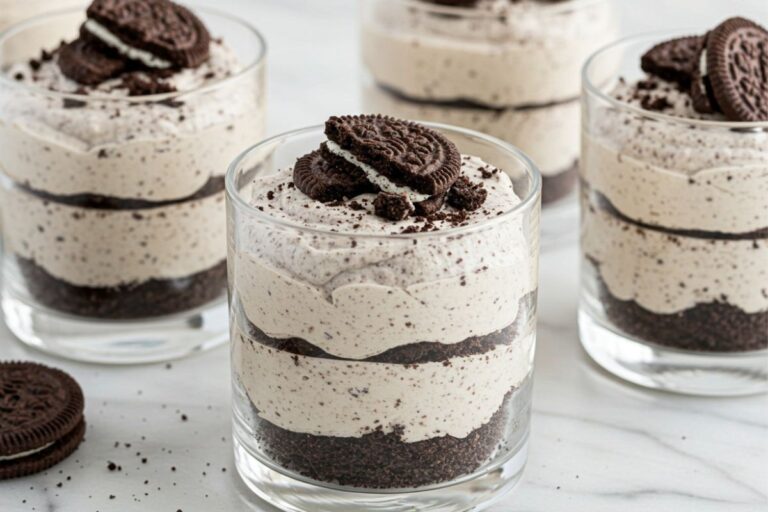
3-Ingredient Oreo Cookie Balls (So Easy & Irresistible!)
So, I’ll never forget the first time I made these 3-Ingredient Oreo Cookie Balls for my family. I was scrambling to put together a dessert platter at the last minute – you know how it is – and I needed something that looked impressive but wouldn’t keep me in the kitchen all night. Emma was about three at the time, and she “helped” me roll the balls (which meant eating more Oreos than made it into the bowl!). But here’s the thing: these became the star of the dessert table. David’s entire family kept asking for the recipe, assuming I’d spent hours on them. The best part? Three ingredients, friends. THREE. The rich, fudgy chocolate coating over that creamy Oreo center – trust me, you’ll want to make a double batch because they disappear fast. And I promise you, if a stressed-out mom can whip these up with a cookie-stealing toddler underfoot, you absolutely can too!
Jump to
| Prep Time | Chill Time | Total Time | Servings | Calories (per serving) |
|---|---|---|---|---|
| 30 minutes | 2 hours | 2 hours 30 minutes | 24 balls | ~166 |
3-Ingredient Oreo Cookie Balls Ingredients
The secret to incredible 3-Ingredient Oreo Cookie Balls starts with quality ingredients – and the good news is, you probably already have Oreos in your pantry! I always use regular Oreos, not Double-Stuf (I know, controversial!), because they create the perfect texture balance with the cream cheese. Trust me on this one!
What You’ll Need:
- 38 Oreo cookies (regular, not Double-Stuf)
- 1 (8-ounce/226g) package cream cheese, room temperature
- 1 cup white or dark chocolate melting wafers, semi-sweet chocolate chips, or chopped chocolate bars (180g)
Optional Decorations:
- Oreo crumbs
- Melted chocolate drizzle
- Festive sprinkles
Essential Equipment for 3-Ingredient Oreo Cookie Balls
You don’t need a fancy kitchen to make incredible no-bake Oreo balls! Here are the tools I reach for every time, plus my honest recommendations from years of testing.
| Equipment | Why You Need It | Check Price |
|---|---|---|
| Cuisinart Food Processor 8-Cup | Makes crushing Oreos effortless – fine crumbs in seconds! | ⭐⭐⭐⭐⭐ Check on Amazon |
| KitchenAid Classic Stand Mixer | Perfect for mixing cream cheese smoothly without arm fatigue | ⭐⭐⭐⭐⭐ Check on Amazon |
| OXO Cookie Scoop Set | The tablespoon size creates perfectly uniform balls every time | ⭐⭐⭐⭐⭐ Check on Amazon |
| Nordic Ware Baking Sheet | Flat surface keeps balls from rolling – I’ve had mine for years! | ⭐⭐⭐⭐⭐ Check on Amazon |
How to Make 3-Ingredient Oreo Cookie Balls: Step-by-Step
Okay, this is where the magic happens! I’m going to walk you through every single step of how to make Oreo cookie balls. Take your time – this is easier than it looks, I promise!
1. Crush the Oreos into Fine Crumbs (3-4 minutes)
First things first – we need those Oreos broken down into the finest crumbs possible. This is crucial for getting that smooth, truffle-like texture!
Place the Oreos in a food processor and pulse until ground into fine crumbs. (You can also chop them and crush them with a rolling pin on your cutting board until the cookies are broken down to fine crumbs if you don’t have a food processor.)
You’re looking for a texture that’s almost like cocoa powder – no big chunks, just fine, even crumbs. I usually pulse about 10-12 times, stopping to check the texture. Listen, I learned this the hard way after making a batch with chunky pieces that made the balls lumpy. Fine crumbs are your friend here!
2. Mix the Oreos with Cream Cheese (2-3 minutes)
Now here’s where patience becomes your best friend. Make sure that cream cheese is truly at room temperature – it should be soft enough to leave an indent when you press it.
Transfer the crushed Oreos to a large mixing bowl or the bowl of a stand mixer fitted with the paddle attachment. Add the cream cheese then beat on medium-low speed until combined. Use a spatula to scrape the bowl down and make sure there are no pockets of unmixed Oreos or cream cheese.
The mixture should look uniform and hold together when you press it. It’ll be darker than the original Oreos and have a clay-like consistency. Don’t rush this step – those white streaks of cream cheese need to disappear completely. I usually stop the mixer twice to scrape down the sides because cream cheese loves to hide at the bottom of the bowl!
3. Portion and Roll the Balls (15-20 minutes)
This is my favorite part – it’s almost meditative! Put on some music and get rolling.
Using a tablespoon-sized triggered cookie scoop, portion the Oreo mixture and roll into balls. (Each ball should be roughly 1-inch or about 20g.) Place the Oreo balls on a parchment paper-lined baking sheet.
Roll them gently between your palms – you want them smooth and round, not lumpy. If the mixture sticks to your hands, I like to wet my palms slightly with cold water. Emma still loves helping me with this step (though now at six, she’s much better at not eating them all!). You should end up with about 24 perfectly portioned balls. Cover and refrigerate the balls for at least 1 hour to firm up or up to 2 days.
4. Melt the Chocolate Coating (3-5 minutes)
Here’s where we need to be gentle and patient. Chocolate can seize up if you rush it, and I’ve definitely been guilty of that mistake!
Place the chocolate in a heat-proof bowl. Microwave on high for 30 seconds, then stop and stir. Microwave for another 30 seconds, then stir once again. Continue to microwave in 15-second increments, stirring between each, until the chocolate is melted.
The chocolate should be smooth, glossy, and flow easily off your spoon. If it seems too thick for dipping, you can add a tiny bit of vegetable oil (start with ½ teaspoon) to thin it out to a dipping consistency – just make sure to really whisk the oil in if doing so. I learned this trick from a chocolatier friend, and it’s been a game-changer!
5. Dip the Oreo Balls (10-15 minutes)
This step looks fancy but is actually super simple. Just work quickly because that coating sets fast!
Dip each chilled ball in the candy coating using a skewer or fork, and place on a sheet of parchment paper to set. If you’re decorating the tops with Oreo crumbs or sprinkles, sprinkle those on immediately, as the shells will harden quickly.
I like to use a fork to dip them – slide the ball onto the fork, lower it into the chocolate, then lift it up and gently tap the fork on the edge of the bowl to let excess chocolate drip off. The coating should be thin and even. If you want to add crushed Oreo toppings or festive sprinkles, do it RIGHT away. After about 30 seconds, the chocolate starts setting, and the decorations won’t stick. Don’t ask me how many plain balls I tried to sprinkle too late!
6. Final Chill and Optional Drizzle (1 hour)
Almost there! Now we just need to let everything set up properly.
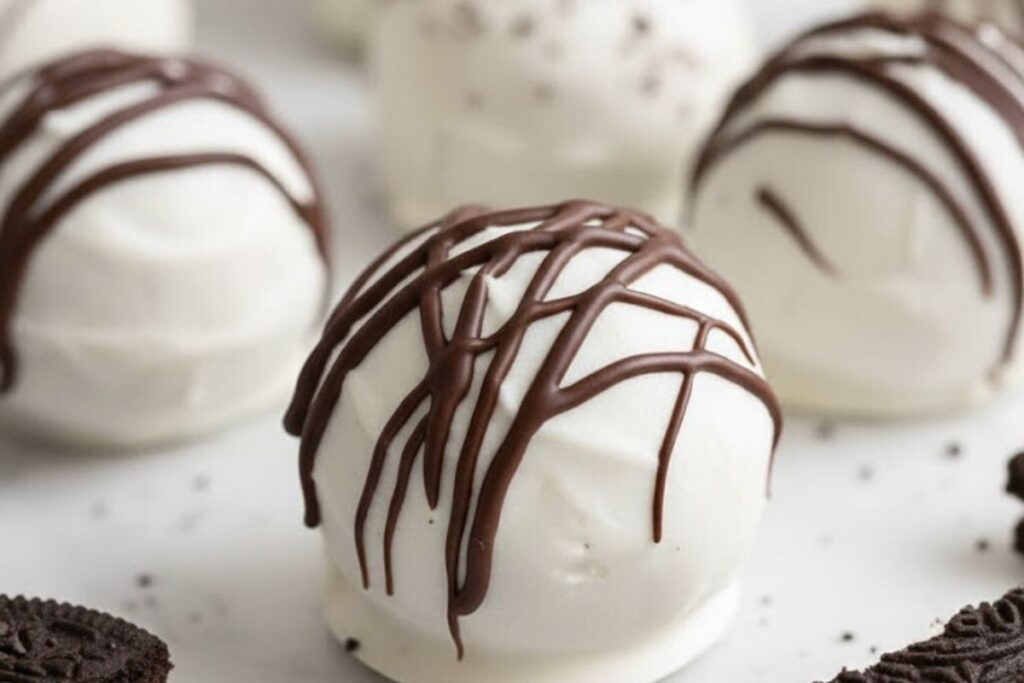
Chill the dipped balls for 1 hour or until set. If decorating with a chocolate drizzle, drizzle with melted chocolate once the coating is set. Oreo balls can be refrigerated in an airtight container for up to 2 weeks.
For that chocolate drizzle (which looks so professional, I promise!), melt about ¼ cup of chocolate and use a fork to drizzle it back and forth over the set balls. Your kitchen is about to smell like a chocolate shop, and these 3-ingredient Oreo balls will look like they came from an expensive bakery!
Sophie’s Notes
Storage & Freshness These keep beautifully in an airtight container in the fridge for up to 2 weeks – if they last that long in your house! I learned this the hard way: store them in a single layer if possible, or separate layers with parchment paper. Otherwise, they might stick together. For holiday cookie platters, I make them 3-4 days ahead, so I’m not scrambling at the last minute. Trust me, your future self will thank you!
The Room Temperature Cream Cheese Secret Here’s the thing about room temperature cream cheese – it should be soft enough to leave a slight indent when you press it, but not greasy or separated. I usually set mine out about 45-60 minutes before baking. If you forget (like I do constantly), you can cut it into small cubes, and it’ll soften in about 20 minutes. Don’t microwave it directly – I tried that once and ended up with a melted mess that wouldn’t mix properly!
Why Regular Oreos, Not Double-Stuf After testing this recipe about thirty times (yes, really!), I’ve found that regular Oreos create the perfect ratio of cookie to cream cheese. Double-Stuf makes the mixture too sweet and changes the texture – it becomes almost grainy instead of smooth. If you only have Double-Stuf, use 32 cookies instead of 38 and reduce the cream cheese to 6 ounces. Not ideal, but it works!
Chocolate Options & What I Prefer You can use white chocolate, dark chocolate, or milk chocolate melting wafers – they’re all delicious! I personally love dark chocolate because it balances the sweetness of the Oreos. Melting wafers work best because they contain stabilizers that help them set up firm and shiny. If you’re using chocolate chips or chopped chocolate bars, add that tiny bit of vegetable oil I mentioned to help them flow better for dipping.
Common Mistake: Skipping the Chill Time This is where most people go wrong, and I get it – you’re excited to finish them! But those balls NEED that first chill time before dipping. If you try to dip warm or room-temperature balls, they’ll fall apart in the chocolate, and you’ll end up with a melted mess. Ask me how I know! I now set a timer and distract myself with cleanup so I’m not tempted to rush this step.
Portion Size Perfection I swear by my tablespoon-sized cookie scoop for these. It creates balls that are about 1 inch in diameter and roughly 20 grams each – perfect bite-sized treats that aren’t too big or too small. If you don’t have a scoop, use about 1 tablespoon of the mixture per ball. Consistent sizing means they all chill and set at the same rate, which makes dipping so much easier!
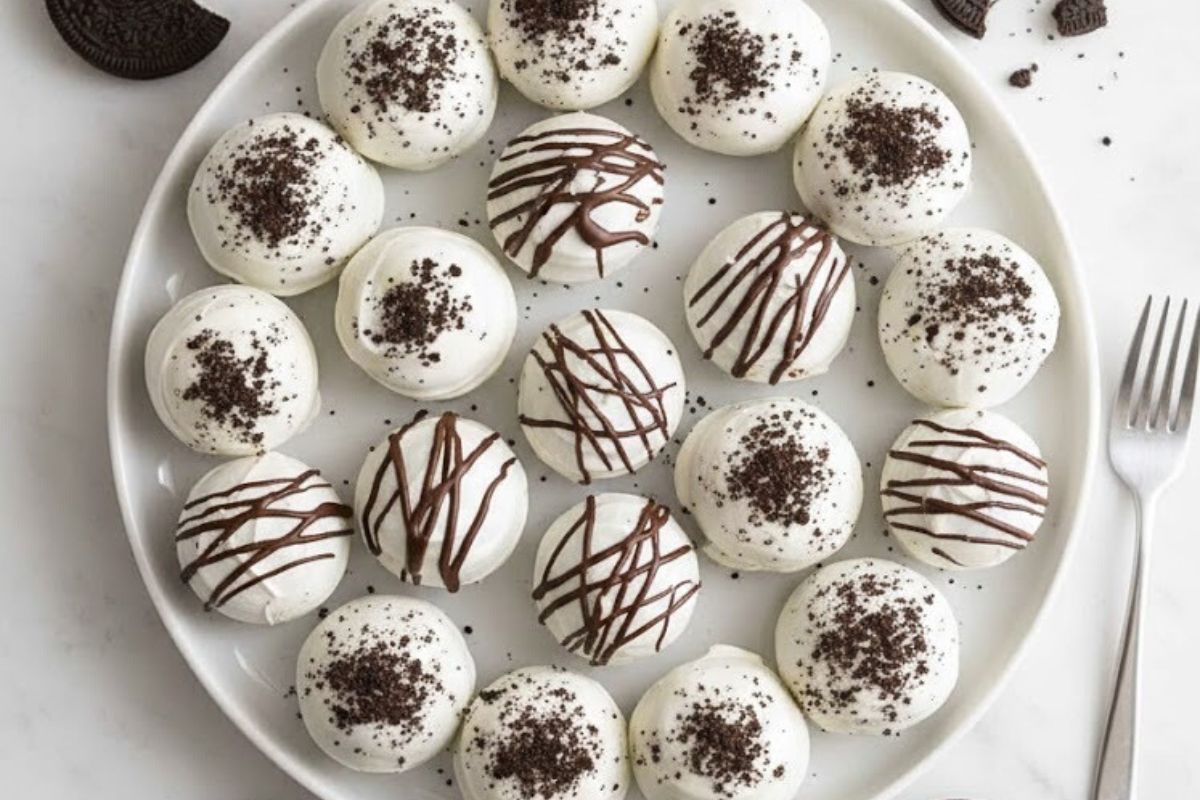
How to Serve These Beauties These are incredible straight from the fridge if you prefer firmer truffles (my preference!), or you can let them sit at room temperature for about 30 minutes for softer, fudgier centers. I love adding them to holiday cookie platters – they look so elegant next to traditional cookies. For Holiday, I decorate half with crushed candy canes and half with white chocolate drizzle. For birthdays, colorful sprinkles are always a hit with the kids!
Make-Ahead Magic Pro tip that’s saved me during busy holiday seasons: you can make the Oreo-cream cheese mixture and roll the balls up to 2 days ahead. Just keep them covered in the fridge until you’re ready to dip them. You can even freeze the undipped balls for up to 2 months! Just thaw them in the fridge overnight before dipping. This is perfect for making big batches for parties or gifts.
Flavor Variations I Love Once you’ve mastered the basic recipe (and you will – it’s that easy!), try mixing in ½ teaspoon of peppermint extract for a holiday twist, or use different Oreo flavors! I’ve had great success with Mint Oreos, Birthday Cake Oreos, and even Peanut Butter Oreos. Just stick with the same measurements – the recipe is surprisingly forgiving. My family goes absolutely crazy for the peppermint version every December!
A Sweet Ending
I can’t wait for you to try these 3-Ingredient Oreo Cookie Balls! There’s something so special about creating something that looks this impressive with just three simple ingredients. After all these years and countless batches, this recipe never gets old – it’s one I come back to again and again for holidays, parties, and whenever I need a guaranteed crowd-pleaser. The way they melt on your tongue with that perfect balance of creamy Oreo filling and rich chocolate coating – it’s pure magic.
These no-bake Oreo balls have brought so much joy to my kitchen, from Emma’s first “helping” session to the dozens of cookie platters I’ve created for neighbors and friends. Now it’s your turn to experience that joy! Don’t forget to leave a comment below and let me know how they turned out – I read every single one, and I love hearing about your favorite chocolate choices and creative decorations. Tag me on Instagram @sophiesweetkitchen with your beautiful creations! I’d love to celebrate your baking success with you.
Happy baking, friends!
Recipe Card
3-Ingredient Oreo Cookie Balls
Ingredients
- 38 Oreo cookies regular, not Double-Stuf
- 1 8-ounce/226g package cream cheese, room temperature
- 1 cup white or dark chocolate melting wafers semi-sweet chocolate chips, or chopped chocolate bars (180g)
- Optional Decorations: Oreo crumbs melted chocolate drizzle, sprinkles
Instructions
Step 1: Crush the Oreos
- Place the Oreos in a food processor and pulse until ground into fine crumbs. (You can also chop them and crush them with a rolling pin on your cutting board until the cookies are broken down to fine crumbs.)
Step 2: Mix with Cream Cheese
- Transfer the crushed Oreos to a large mixing bowl or the bowl of a stand mixer fitted with the paddle attachment. Add the cream cheese then beat on medium-low speed until combined. Use a spatula to scrape the bowl down and make sure there are no pockets of unmixed Oreos or cream cheese.
Step 3: Portion and Roll
- Using a tablespoon-sized triggered cookie scoop, portion the Oreo mixture and roll into balls. (Each ball should be roughly 1-inch or about 20g.) Place the Oreo balls on a parchment paper-lined baking sheet. Cover and refrigerate the balls for at least 1 hour to firm up or up to 2 days.
Step 4: Melt the Chocolate
- Place the chocolate in a heat-proof bowl. Microwave on high for 30 seconds, then stop and stir. Microwave for another 30 seconds, then stir once again. Continue to microwave in 15-second increments, stirring between each, until the chocolate is melted. (You can use a little vegetable oil to thin it out to a dipping consistency if the coating is too thick, but make sure to really whisk the oil in if doing so.)
Step 5: Dip the Balls
- Dip each chilled ball in the candy coating using a skewer or fork, and place on a sheet of parchment paper to set. If you’re decorating the tops with Oreo crumbs or sprinkles, sprinkle those on immediately as the shells will harden quickly.
Step 6: Final Chill
- Chill the dipped balls for 1 hour or until set. If decorating with a chocolate drizzle, drizzle with melted chocolate once the coating is set. Oreo balls can be refrigerated in an airtight container for up to 2 weeks.